Thursday, June 26, 2014

FREE 4th of July Printable!

It's hard to believe that the 4th of July is already next week!! To help you prepare for all the parties and festivities, we wanted to share our fun and patriotic 4th of July Printable!!


This sheet of twelve, 2" squares can be used as cupcake toppers, treat bag tags, plant sticks and more!! You can download it for free HERE {but please link back to our shop if you share}.


Simply print this sheet on white card stock and either cut or punch each square. I used a 2" scrapbook paper punch to make it a little easier.

Get creative and have fun!! 

Happy 4th of July, fellow Americans :)

Monday, May 19, 2014

Month 5: Get Organized for Summer

After the winter we've had, I didn't think summer would ever arrive. But here we are…a week away from Memorial Day!!

To most, Memorial Day is the official kick-off to summer. For us, Memorial Day is the official kick-off to CAMPING SEASON!! And party season. And beach season. And enjoying-every-minute-of-sunshine season.

I feel like summer breaks get shorter and shorter every year. It doesn't help that my kids have several snow days to make up too. We already have a list a mile long of summer activities, camping trips, parties and cookouts and I just know this summer is going to fly by.

So before all of the summer chaos begins, and before the kids are out of school, I think it's time to...


I know, I know…Summer is about RELAXING! Taking it easy, being spontaneous, throwing our schedules and routines out the door. Trust me…I can't wait to turn off our alarm clocks and take a break from school pick-up lines and homework. But at the same time, I'm a planner. I like having things in order (or at least as close to "order" as I can get). I want to be organized for our camping trips and the parties/cookouts we plan to host. I also want to keep up with meal planning and household chores and projects. I also need to keep the kid's summer activities straight and still schedule time for all the fun little things we want to do together.

Luckily…I have a bunch of GREAT tools and resources to help us get organized for the summer craziness. 

First up…a book to add to your summer reading list :)


For the last few years, I have had the privilege of reviewing all of the books in the 100 Days series by Jennifer Tankersley. Her newest book, 100 Days of Summertime, begins THIS SUNDAY and is packed full of fabulous inspiration, motivational tasks and activities, printables and more! Here is a little excerpt from the book:


What I have always loved about these books is the way that Jennifer not only helps you manage the chaos of summer (or the holidays), but also reminds you to slow down and enjoy the season. It's great to spend your break organizing your home and preparing for the school year ahead (which this books helps you do), but don't forget to celebrate the little summer holidays like National Ice Cream Day and create new traditions with your family, like Olympics Day in your own backyard.

And speaking of your backyard, don't forget that June 28th is the Great American Backyard Campout! I had no idea this was actually a "holiday" until I read this book last summer. Camping holds a special place in my heart…it's been one of the greatest bonding experiences for our family and we have already made some of the best memories together. If you haven't ever taken your kids camping…make this one of your summer goals. Whether you stay at a national park or pitch a tent in your own backyard…I promise it will be one of the highlights of your summer {Special Camping Post Coming Soon!}. 

100 Days of Summertime comes with 34 different lists and planning pages, including monthly calendars. And if you aren't a paper person, the ListPlanIt app will help you keep all of your lists right on your smartphone!

Now, since I have no idea what it means to NOT be a paper person, here are a few of our NEW printables planners!!

This first one is our Happy Camper Planner, NEW in the shop this month! It comes in Large (8.5 x 11) and Small (5.5. x 8.5).


And for all of your summer party planning needs, here is our new Party & Events Planner! This set also comes in Large (8.5 x 11) and Small (5.5 x 8.5).


The beginning of 100 Days to Summertime is all about getting your summer schedule in order. Deciding when you will travel and what parties and holidays you plan to host are important details. But what about your days at home with your kids? We all know how loooooooong some days can be when everyone is "bored" and looking for something to do.

Last summer, when I was struggling to come up with something fun to do with not only my two kids, but also my niece and nephew, I followed Jennifer's plan from 100 Days and set up a Day Camp at home! I planned out different weekly themes like "Ocean Week" and "Space Week" and then every Tuesday, we would have Day Camp!

The Internet and your local library are the BEST resources for setting up your own Day Camp. Our library already had themed "Vacation Bags" filled with books and a DVD. I also found some fantastic websites that have FREE printable worksheets, games and activities for a variety of different themes and grade levels. My three favorites are RoyalBaloo...

Jump In to Learning Ocean Theme - Week 2   A summer learning program for toddler, preschool, kindergarten, and first grade.


Printables Packs from 1plus1plus1equals1


Having one day a week to spend on "school practice" made such a huge difference for us, and the kids really looked forward to each new theme (and so did I). It did take some prep each week to get the activities together, but having it planned out in advance made things run a lot smoother.

In fact, I found that planning out our entire week each Sunday night was helpful for all of us. The kids and I would talk about what we wanted to do that week, what camps or activities we had scheduled, and then I would decide what errands and to dos I needed to accomplish. Lately I have been doing the same type of weekly planning and it has been working out well. I currently use the Working Mom Weekly Docket that we have available in our shop, but I decided to make a fun, summer-themed weekly docket as this month's FREEBIE!!!


{You can download this fun freebie in 3 sizes HERE}

I realize that 5 paragraphs ago I said that I understood that summer was about RELAXING, and yet all I have done is talk about planners and schedules and day camp :-) I know I am not alone in this, right? Maybe what all of us type-A planners need to do is set some goals that do NOT include organizing. I'll go first. Here are my Five R&R goals for summer:

1. READ MORE BOOKS.

2. GARDEN (and by garden I mean grow a tomato plant).

3. GO FOR MORE WALKS.

4. GO TO BED EARLIER

5. UNPLUG (at least a few hours every day).

So…once all of your summer planning and organizing is done, what will your Five R&R goals for summer be?

100 Days of Summertime ends with a quote from Henry Rollins…

We know that in September,
we will wander through the
warm winds of summer's wreckage.
We will welcome summer's ghost.

We wait so long for summer…and it's gone in a blink of an eye. Above all else this year, be sure to enjoy every moment with your friends and family. Read good books, eat ice cream for dinner, swing in a hammock, cook some s'mores over a fire, and make lots and LOTS of memories :)

HAPPY SUMMER 

{Purchase your digital copy of 100 Days of Summertime HERE}

Monday, April 28, 2014

Free Printable Teacher Appreciation Gift Card Boxes

This year's Teacher Appreciation freebies were designed after receiving lots of feedback from my teacher friends last year. As much as they all love a pretty plant with our "Thanks for Being a Wonderful Teacher" plant stick, or a cute framed copy of our Subway art…what my teacher friends really appreciate are gift cards.

GIFT. CARDS.

Many of them buy their own supplies (hello Target) many of them buy their own music for their classroom (hello iTunes) and many of them survive on coffee alone (hello Starbucks or Dunkin Donuts). Obviously, gift cards are an incredibly thoughtful and practical gift to give the teachers we appreciate so much. But for the parent who wants to get crafty and make their gift special...a gift card  is BOR-ING. Unless you can find a way to add a little cuteness.

And that's where our new Teacher Appreciation Freebies come in!


We designed three different gift card boxes (based on our favorite gift card sayings) and you can print and assemble them at home with only a few basic supplies.

{click here for downloads}


Each gift card box can be printed on standard 8.5 x 11 card stock. All cutting, folding and gluing instructions are on the printable to make the project simple enough for your child to help :)

Once your box is put together, just fill it with a gift card and special note and you are set!!

And to all the wonderful teachers out there…we hope you feel loved and appreciated this week, and every week throughout the year. Thanks for all that you do!!

Monday, March 31, 2014

Month 3: Spring Cleaning

Spring

A word we've all been longing to hear {and feel} for the last 5 months. And now that the sun has finally been making a more regular appearance and the temps are slowly rising…it's time to open up the house and do some SPRING CLEANING!!!


Once again, our monthly organizational post is coming in under the wire, but I found it hard to talk about "Spring" cleaning with snow still on the ground. So now that we are finally seeing the sunlight shine through our dirty windows and I am running out of room to shove toys in closets…it's time to start tackling the madness!

Because I am far from a cleaning expert, I often rely on the tips and advice I find on various blogs and websites. Over the years, I have made a list of some of these resources and I will share them below, along with some of the things that have worked especially well for me.


Martha Stewart's Spring Cleaning guide is incredibly helpful, especially now that it's broken down by rooms. She also shares basic cleaning tips and how to organize a Cleaning Kit {or caddy}. I've been using one for years and I keep it under my sink.


In it I keep:

Glass Cleaner
All Purpose Cleaner
Bathroom/Antibacterial Cleaner
Carpet Spot Cleaner
Dust Mit
Microfiber Cloth
Mr. Clean Eraser Sponge
Scrub Brush {for bathroom shower}
Disposable Rubber Gloves

I can carry this caddy from room to room when I am cleaning and have everything I need. I also keep a container of antibacterial wipes under each bathroom sink for quick clean-up.


I LOVE Real Simple's Spring Cleaning Shortcuts list because not only does it cover all the important areas of your home, but it gives you both the "Short Cut Version" for quick clean-up, and the "Long Version" if you want to be more thorough. Each area of your house is also broken down into steps and they include a handy Tool List of everything you will need. I have actually printed each list and put it in my Home Management Binder for future reference. 


I've been following Organized Home for years and I've carried around their Spring Cleaning Chore Checklist since Eric and I bought our house. It has been such a helpful list for us, I actually decided to make my own version for my planner, along with a helpful checklist for indoor and outdoor maintenance. The printables turned out so cute, I thought this post would be the perfect place to share them!


I've created the printables in 3 sizes and you can download them HERE.

You will see that one of our Spring Cleaning Tasks every year is to have a Garage/Yard sale. I know these can be a ton of work, but it is really one of the best motivators for us to clean out our house and garage. And the best part is that our town makes it easy by having a specific "Garage Sale Weekend." Charity trucks will also make pick-ups the Monday after the sale so that they can take away clothing, baby items, furniture and other unwanted items and give them to local organizations in our area. You would be surprised by how many towns will do this, so make sure you check into it if you have a garage sale planned. 

Also, if you need some helpful tips for setting up and planning your own Garage or Yard Sale, Organized Home has a special article for that too :-)


I subscribe to Parents Magazine emails and I have to admit…they share some really helpful tips! Last week I got an email titled "Spring Cleaning with Kids" and I thought it was something perfect to share in this post. The video is only a few minutes long and the mom talks about how to get your kids involved with Spring Cleaning. She suggests turning everyday chores into a game by using timers or playing fun music. The article also suggests setting up a special Chore or Reward Chart for each of your kids to use year round. I did this for my kids recently and although my 4-year-old son isn't as enthusiastic as his 6-year-old big sister, I can say that they have both been very motivated by the end-of-the-week reward :-)

In addition to the reward at the end of the week, my kids also took more of an interest in their Chore Charts when I did two important things:

1. I made their chart special by putting their name at the top and designing them with their special interests in mind. My daughter's chart has a little ballerina on it and my son's has Batman :-)


2. I made sure that the chores and tasks I picked for their chart were appropriate for their age. For example, my daughter's chart has chores like "Do the Dishes," "Feed Pet," "Make Bed," "Finish Homework," etc. 


For my son's chart, I knew that having him in charge of feeding our fish was NOT the best decision, nor was asking him to the dishes. But right now, we are practicing getting dressed ourselves and putting on our own coat so those are two chores or "tasks" that I have on his chart, along with "Pick up Bedroom" and "Put Away Toys." 


You will notice that I laminated both the charts and the chore/task cards and that is simply so I don't have to reprint a new chart every week. It also gives me the ability to change out certain chores or tasks throughout the week. For example, if my daughter doesn't have homework one day, I can swap it out with something else. All I do is use Poster Putty on the back and they easily peel right off and I can restick them over and over again.


To check off her tasks, my daughter prefers marking her squares with these little pink magnets we found at Target. My son, on the other hand, likes to use markers so we use our washable Crayola dry erase markers and they wipe right off each week.


I can't believe that both of my kids filled their entire chart over Spring Break. We got a ton of spring cleaning done and now that they have both earned their rewards…they can't wait to do it again this week!

 If you've been struggling to get your kids to help around the house too, or even if you have been searching for the perfect reward or chore chart…be sure to stop by our Printables shop today and check out our new line of Personalized Kids Chore Charts!!!


Right now, we have 12 different designs to choose from for boys and girls and we will be adding more soon. And don't forget, we are always happy to take custom orders :-)

Your personalized Chore/Reward Chart will also come with 2 sheets of chore/task cards that you can print and cut. Another great way to get your kids excited about their chart is to let them help pick their daily chores and tasks. I never in a million years thought my daughter would be excited about making her own bed, but once she added it to her chart, she couldn't wait to check off her first square.


I've been a subscriber to Better Homes and Gardens for a few years and I have ripped out a million articles. One of them that I kept from last year was about the importance of having your children help with chores. I thought the article was fantastic, and it also helped break down what chores are appropriate for which ages. But reading the article again got me thinking…if the whole reason we are establishing a chore or reward chart is to get kids motivated and into a routine…then why not do the same for ourselves?

I don't know about you, but I am TERRIBLE at following a routine when it comes to housework. I always try to set up a schedule and fail miserably. But maybe if we had our own little Adult Chore Chart {with or without weekly rewards} we could be just as excited and motivated as our kids! And what a great example to show them.

So with that in mind, I decided to put together a little Adult Chore Chart that you can print and hang on your fridge, or stick in your Home Management Binder or planner. It' is available in all 3 sizes.


It's nothing fancy, but it certainly does the trick! Just make a list of your household chores and then check off the days you complete them. Most cleaning gurus will tell you that laundry, vacuuming and pick-up should be done daily, while other things like bathrooms and windows should be done weekly. You can download a copy of this chore chart HERE.


Well thank you all so much for stopping by our blog today!! We hope you found these Spring Cleaning Tips, Checklists, Links and Chore Charts helpful :-) As always, please feel free to comment with any Spring Cleaning tips or tricks you might have!!

Until Next Month!!


Tuesday, March 4, 2014

40 Bags/40 Days Declutter Charity Challenge

For the last few years, I have participated in a challenge that I first saw introduced by the lovely Sarah over at Clover Lane. It's called the "40 Bags in 40 Days challenge" and the idea is to rid your home of unneeded and unwanted "stuff" by filling a bag every day during the 40 days of Lent. By the end, you will have donated/sold/tossed 40 BAGS of clutter.

I have to admit that the first year I did this challenge, I was a bit overwhelmed. Sarah suggests writing down 40 different areas of your home that you want to focus on during the challenge, and that was definitely helpful for me. I broke things down into very small categories and even dedicated one day to just cleaning out file drawers {not even my whole desk}. Following that daily plan of one small area at a time made things much more manageable. Also, instead of trying to fill an entire big garbage bag each day, I would focus on grocery size bags for the small projects. In the end, I had collected 21 black garbage bags/boxes and 19 grocery bags of STUFF we didn't need. Some went into the recycling bin, some went to our garage sale, and some went to charities.

As much as I enjoy the decluttering process of this challenge, I think the part that I love most is finding new charities to contribute to. Having "too much stuff" is a blessing we take for granted sometimes. There are people that would do anything to have shoes without holes, dress clothes appropriate enough for a job interview, pots and pans to make meals at home, toys for their children to play with, glasses to see with, etc. And if we have extras of these things lying around, unused, why not give them to people who need them?! Use this challenge and every day of Lent {regardless of your religion} to give back to your community. To give to people in need. To do something good with all those blessings you take for granted.

This year, I plan to use my 40 Bags/40 Days list a little differently. Instead of listing 40 areas of my home, I am going to list out my 40 "bags" and where they went. I want to be able to look back and see how much I was able to recycle, how much I was able to sell and most importantly…how much I was able to donate to people in need.

Although there are many places that will take most of your items {like AMVETS, Salvation Army or Red Cross}, there also some other wonderful charities that are looking for specific items like shoes, dress clothes, eye glasses, plastic toys, etc. Here are links to some charities I have worked with in the past and some I hope to work with again this year:

For gently used shoes: Share Your Soles
For gently worn or new dress clothes: Dress for Success
For old {good condition} eyeglasses: Lions Recycle for Sight
For gently used plastic toys: Second Chance Toys
Used books: Reading Tree
Old cell phones: Cell Phones for Soldiers
Gently worn coats and jackets: Operation Warm

I am so excited to get started on this year's challenge and hopefully get my whole family involved too. And of course, to help you all out with this challenge, here is a free planner printable to help you track your 40 bags/40 Days. 


Use it to plan out the 40 areas of your home you want to tackle in the challenge, or use it like I am and track your "bags" and where they are going.

Start Spring off right with an organized home, and a full heart :-)

Download the Large {8.5 x 11} list HERE.
Download the Small {5.5 x 8.5} list HERE.
Download the XSmall {3.75 x 6.75} list HERE.

Wednesday, February 26, 2014

Month 2: Organize Your Workspace

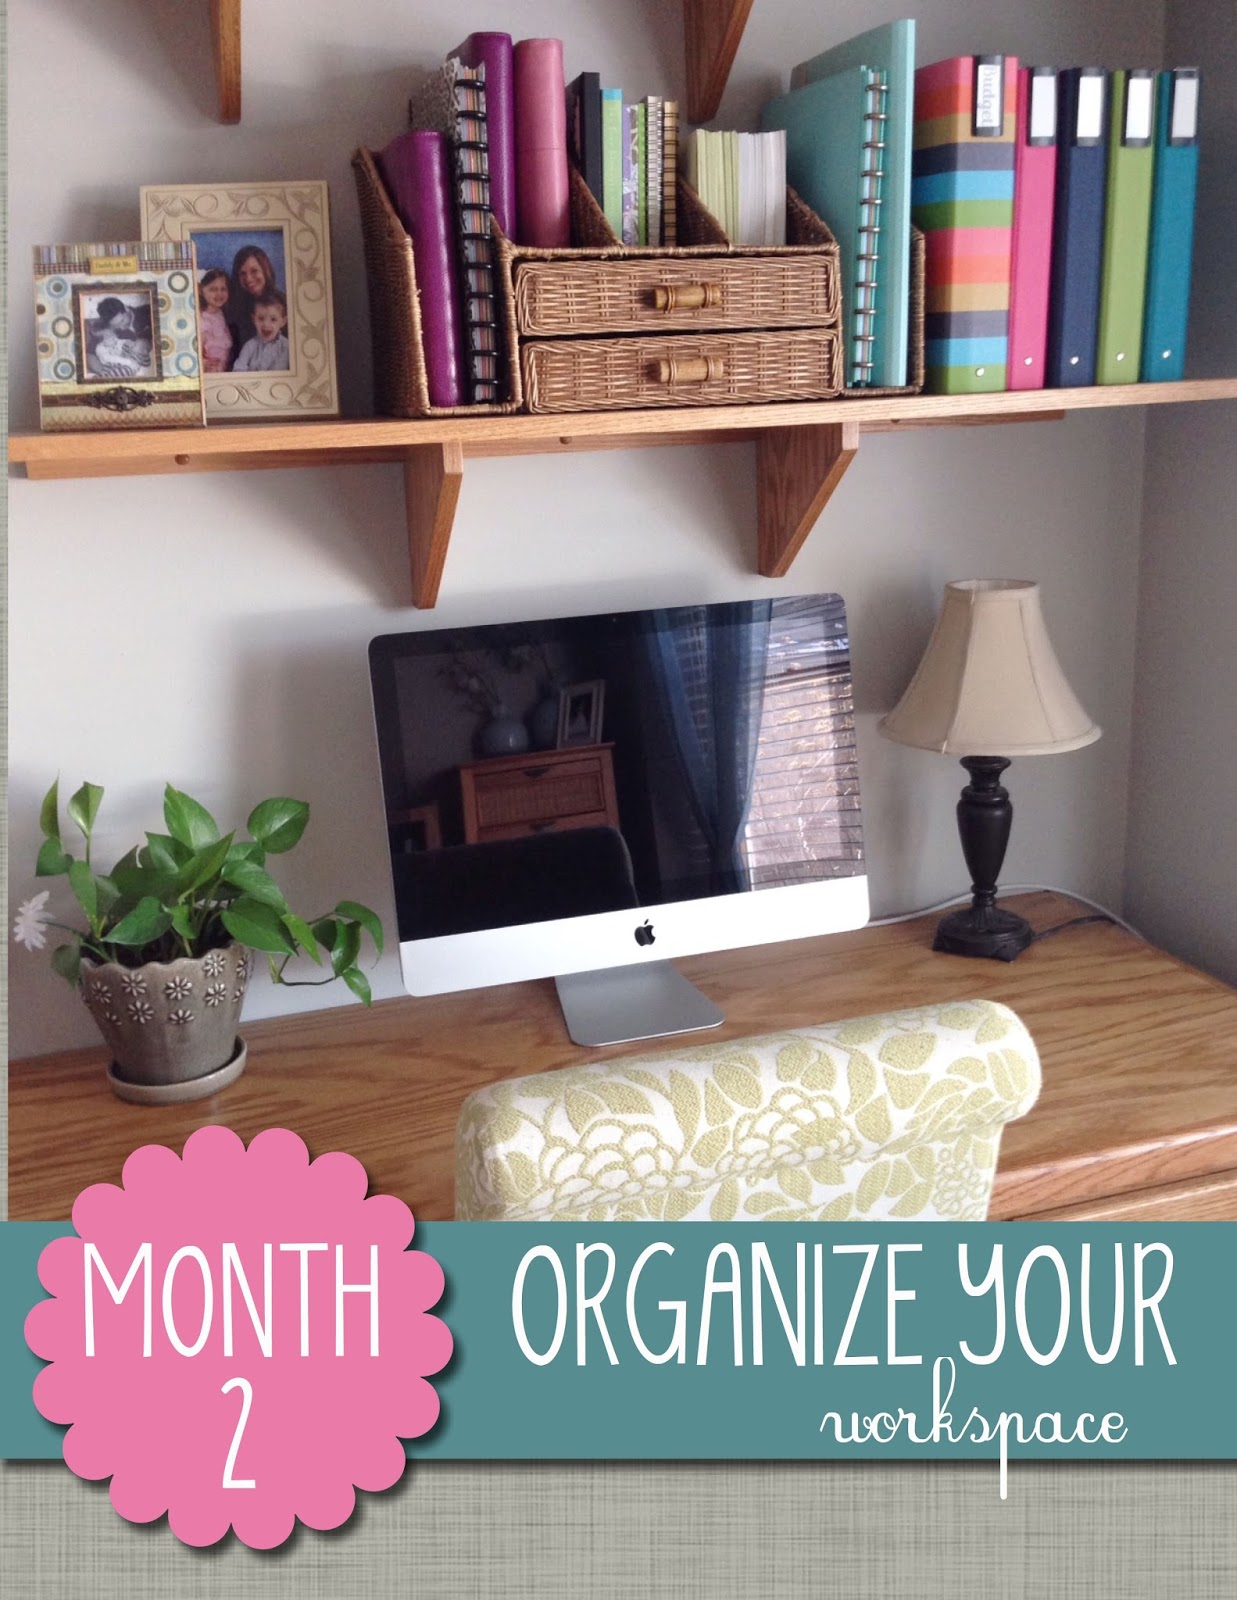
I struggled trying to name this month's organizational project because I didn't want the title to suggest that it was all about setting up your desk. Sure, creating a bright and functional workspace is key to productivity, but it goes beyond just that. What if you have to take your "workspace" on the road! 

In this post, I want to share 5 tips that have helped me keep MY workspace {both at home and on the road} organized and functional. I am by no means an expert in this department, and I am always open to new ideas, so feel free to post a comment on this thread if YOU have a great tip to share.


1. Find a Nook

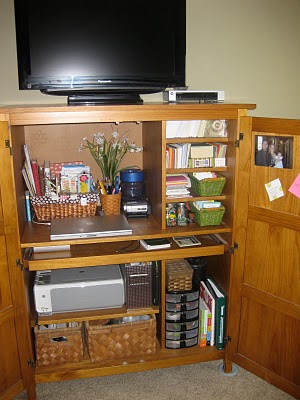
Whether you have an office all to yourself or a tiny little nook in your bedroom…it's important to find a space where you can set up shop. For many years, my workspace at home was a little computer cabinet that I had tucked into my bedroom. I used it in college in my tiny apartment and I used it again when I sacrificed my office space at home to give my babies a playroom.


This little nook served every purpose I needed at the time. It gave me a space to work, a place to house my ridiculous sticky note and stationery collection, my printer, and even a few other office odds and ends. It was organized, it was functional and it was TEENY TINY!! Which just goes to show you that you don't have to have a big room, or even a big space to get your work done. You just need a landing pad. 

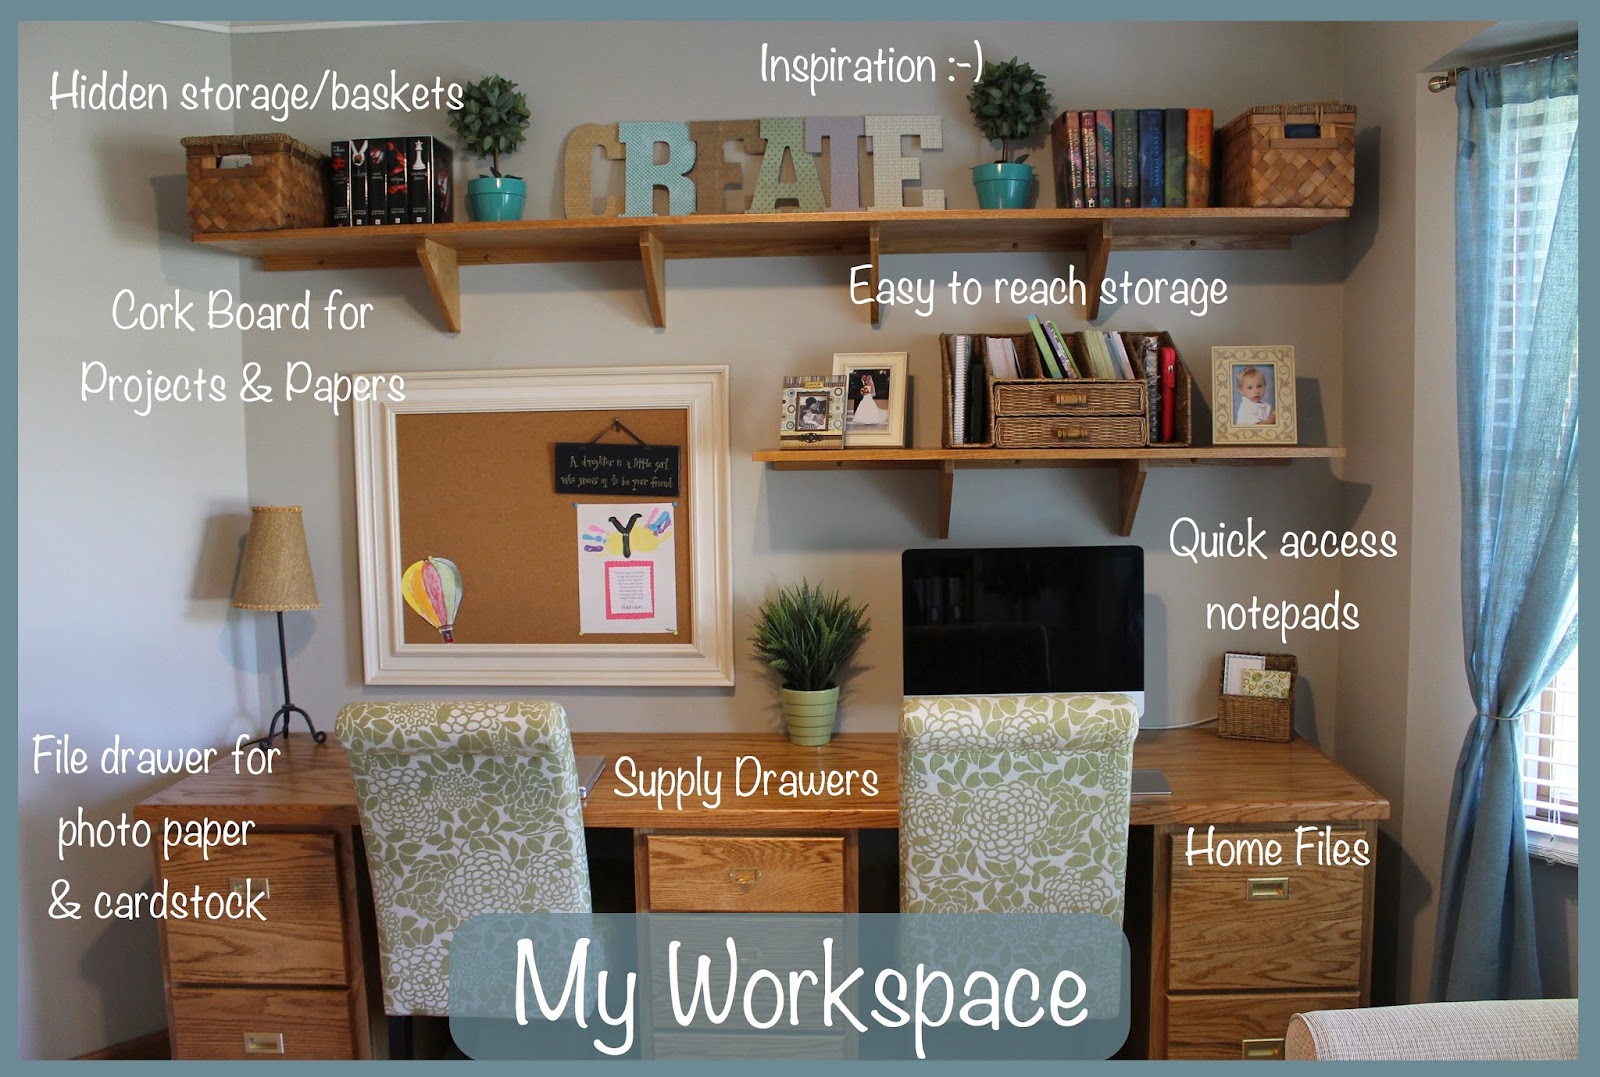
2. Have Everything Important Within Your Reach

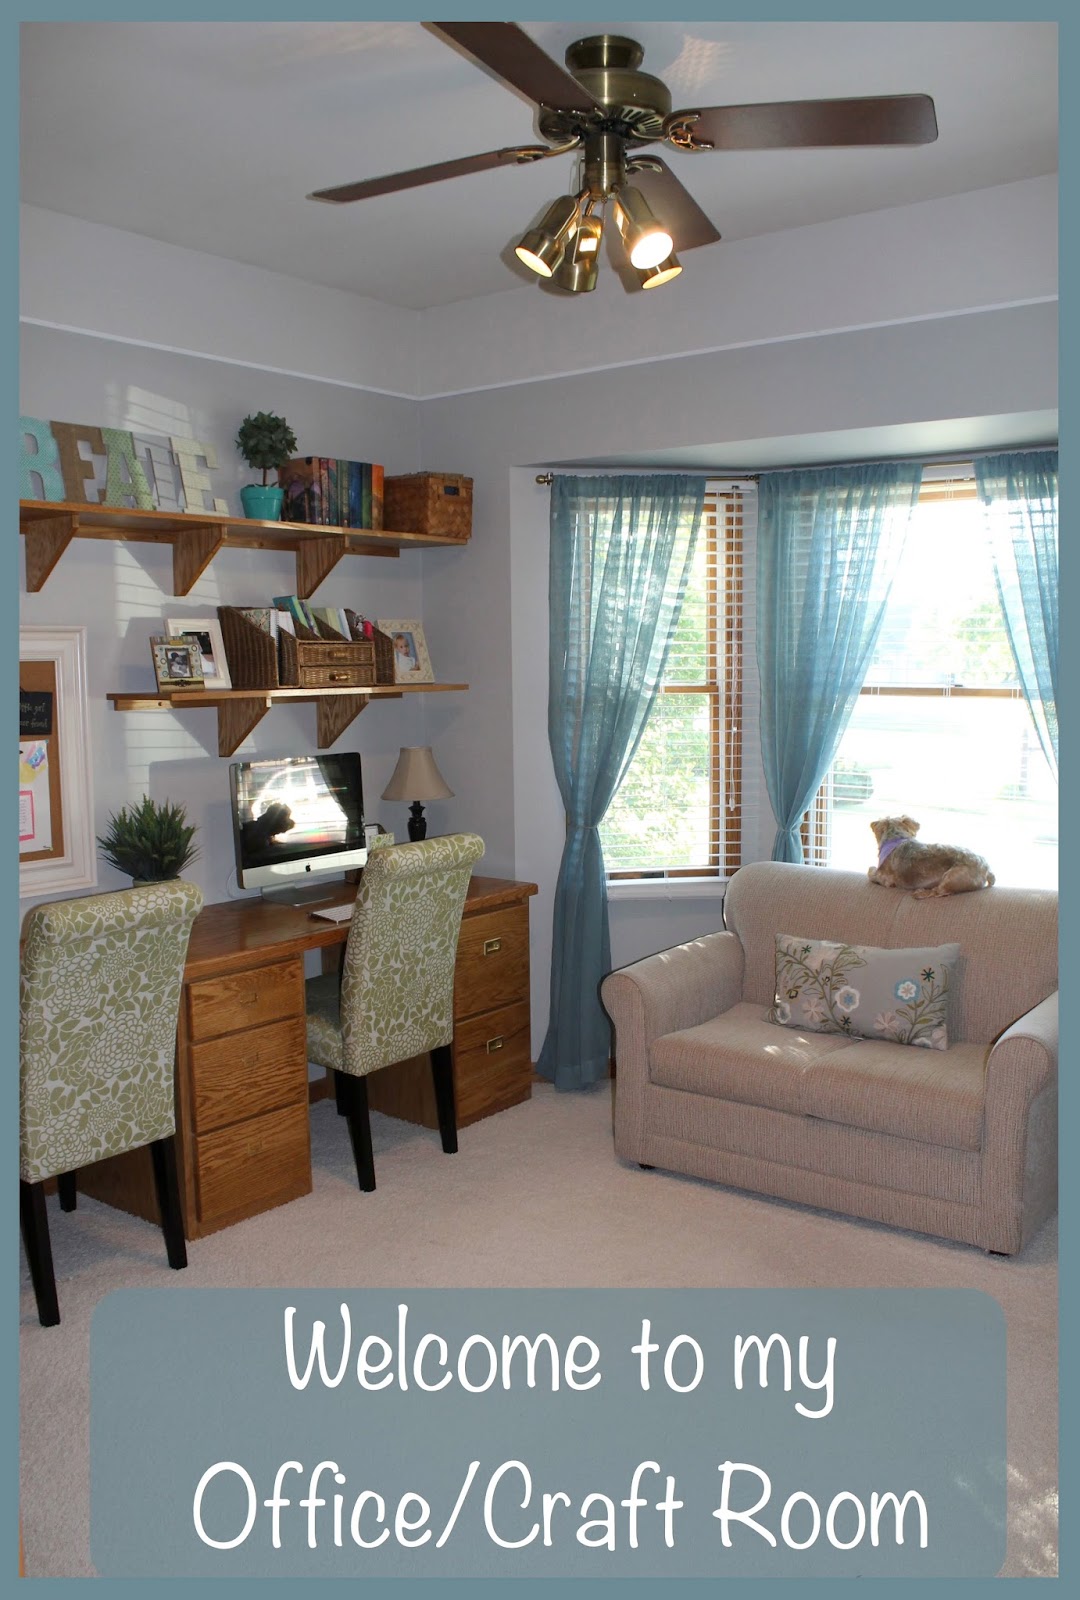
About 2 years ago, when my mom and I decided to open our shop and my kids were old enough to have their playroom in the basement, I decided to reclaim our spare bedroom and turn it into my dream office/craft room. My Dad helped me design it and every nook and cranny was custom made for my needs.


When my Dad and I were designing the office, I just kept thinking about my sweet little computer cabinet. How easy it was to work in that space because everything I needed was right within my reach. 

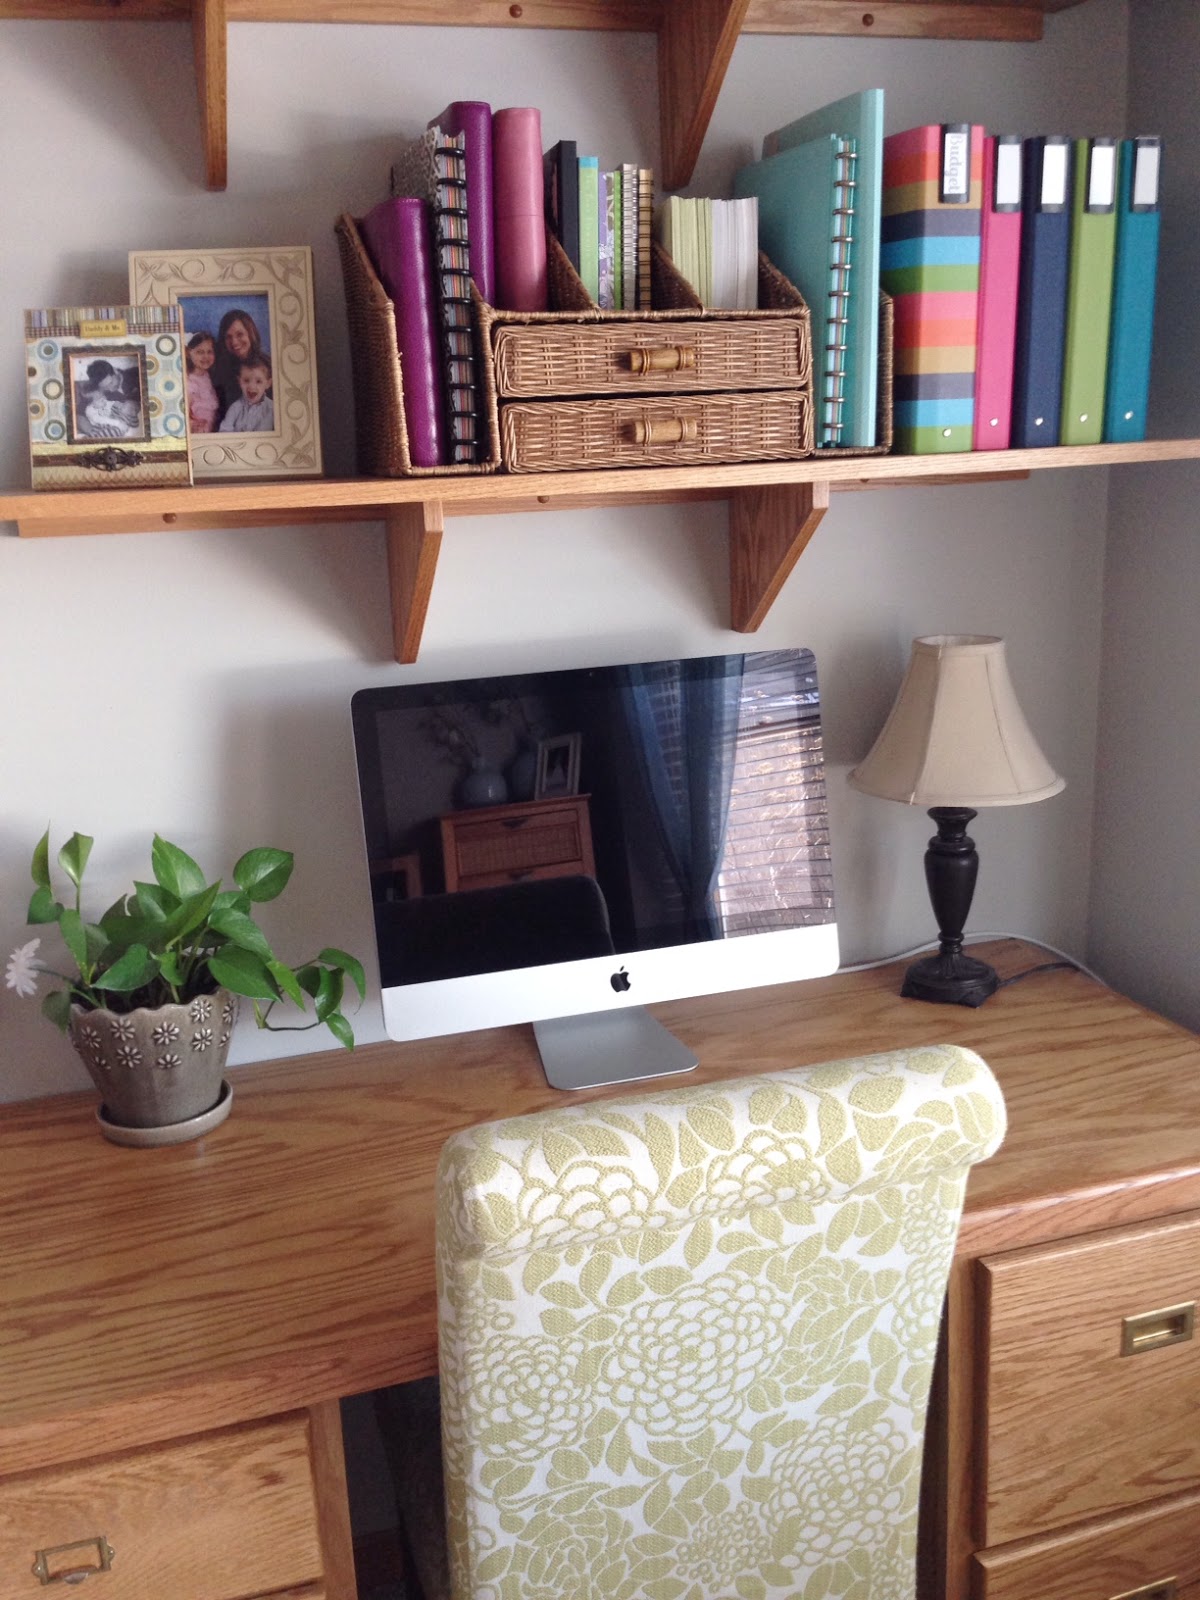
I knew I wanted the same setup in this new office, so my dad added some very important detail to my desk area…a shelf above my computer space, supply drawers to my left and a file cabinet to my right.


Now, when I sit at my desk and work, I can reach all of my important files, pens and paper for jotting down notes and of course, my various binders and planners. 

And you don't need a fancy custom desk to achieve this. Ikea carries incredibly inexpensive shelves that would work perfectly above any desk, and if you want a good tip, Garage Sale Season is the perfect time to find inexpensive file cabinets, desks and if you are lucky…a fun computer cabinet :-)

Just remember when you are planning your workspace, make sure the things that are important and get used every day are within your reach. It saves you time and keeps those pesky piles of papers from taking over your desk. 

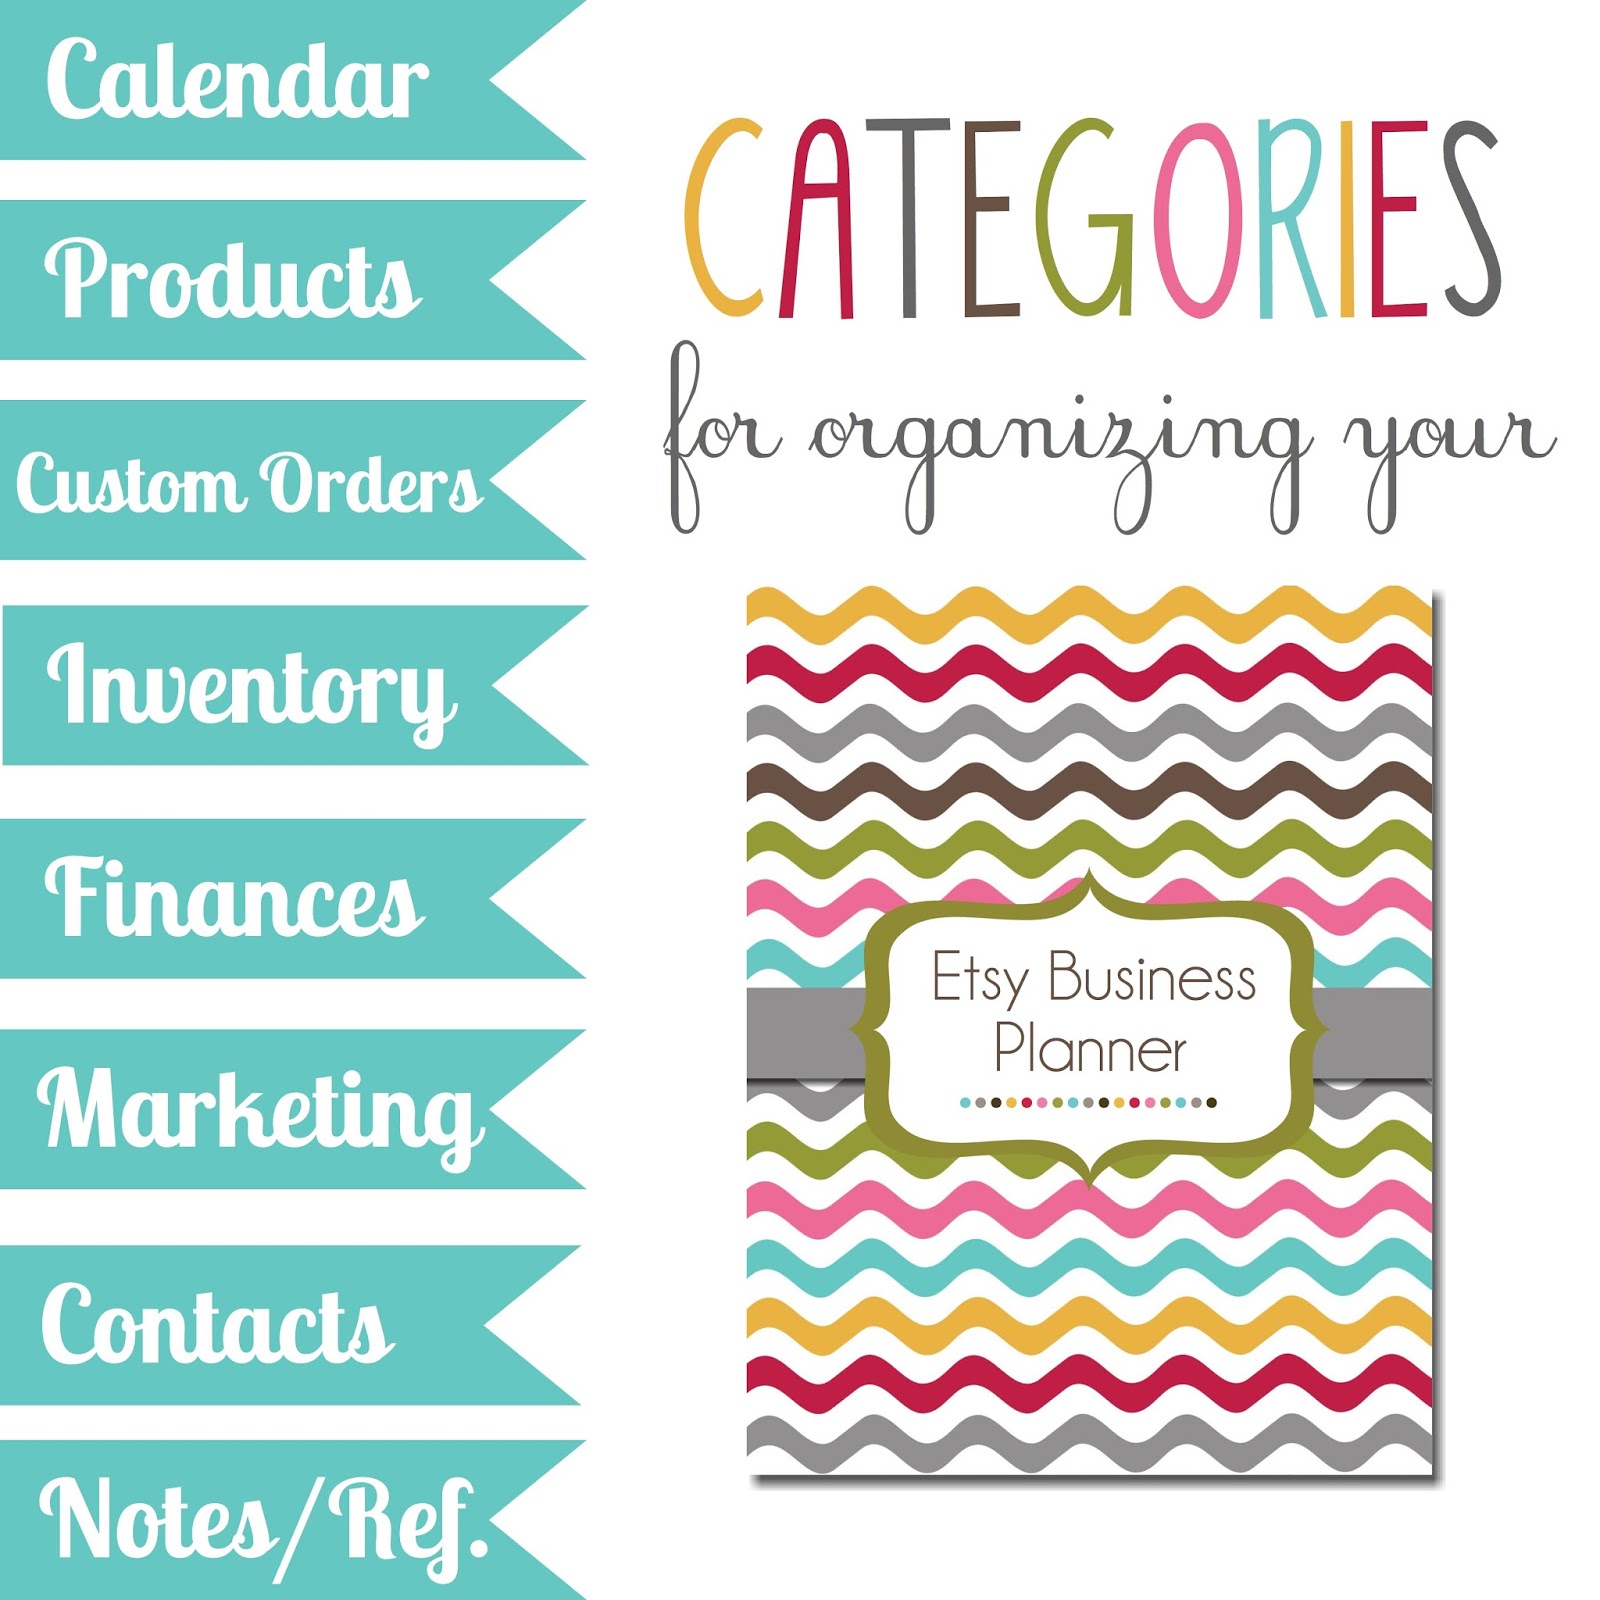
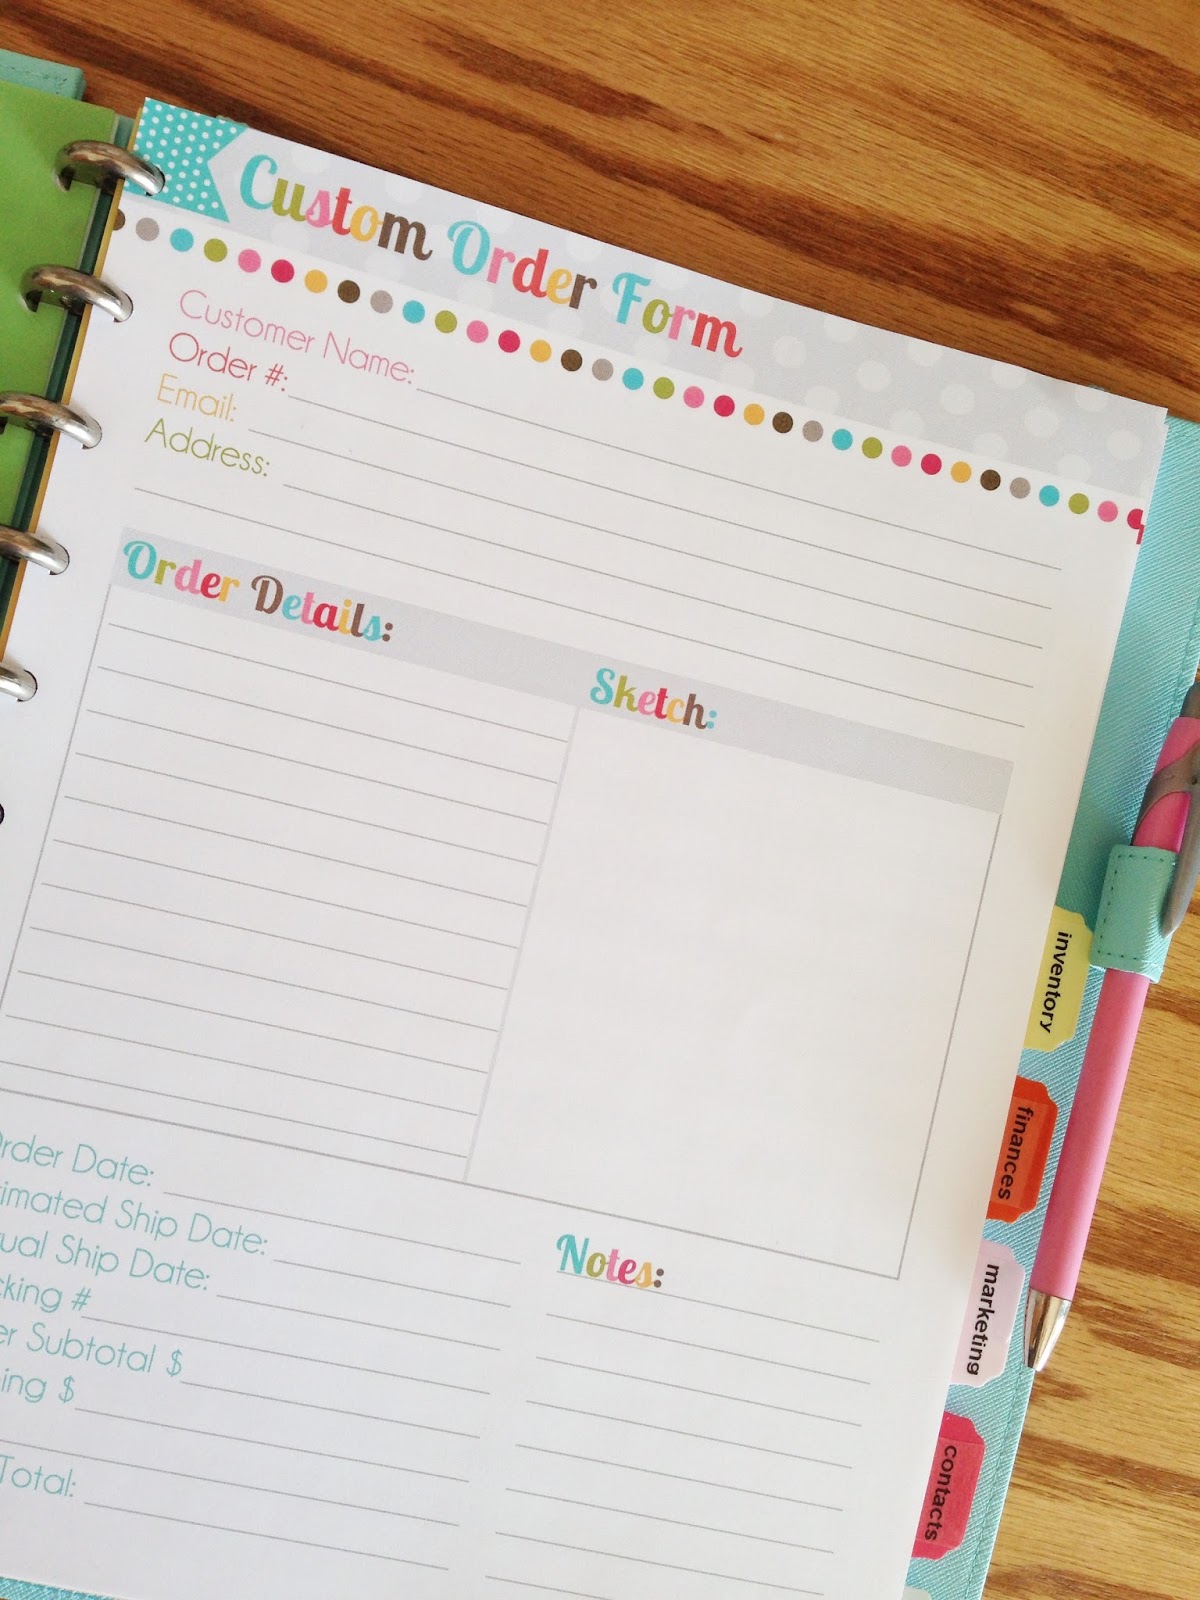
3. It's All About the Planner

It's no secret that I am a Planner Junkie. I have been for the better part of 15 years and I am fairly certain I was obsessed with paper and notebooks long before I owned my first Franklin Covey. And although I like to joke that it is an addiction for me, using a planner is a necessity in my life. In college, I only had one. Just one little planner that had my whole world inside of it. 

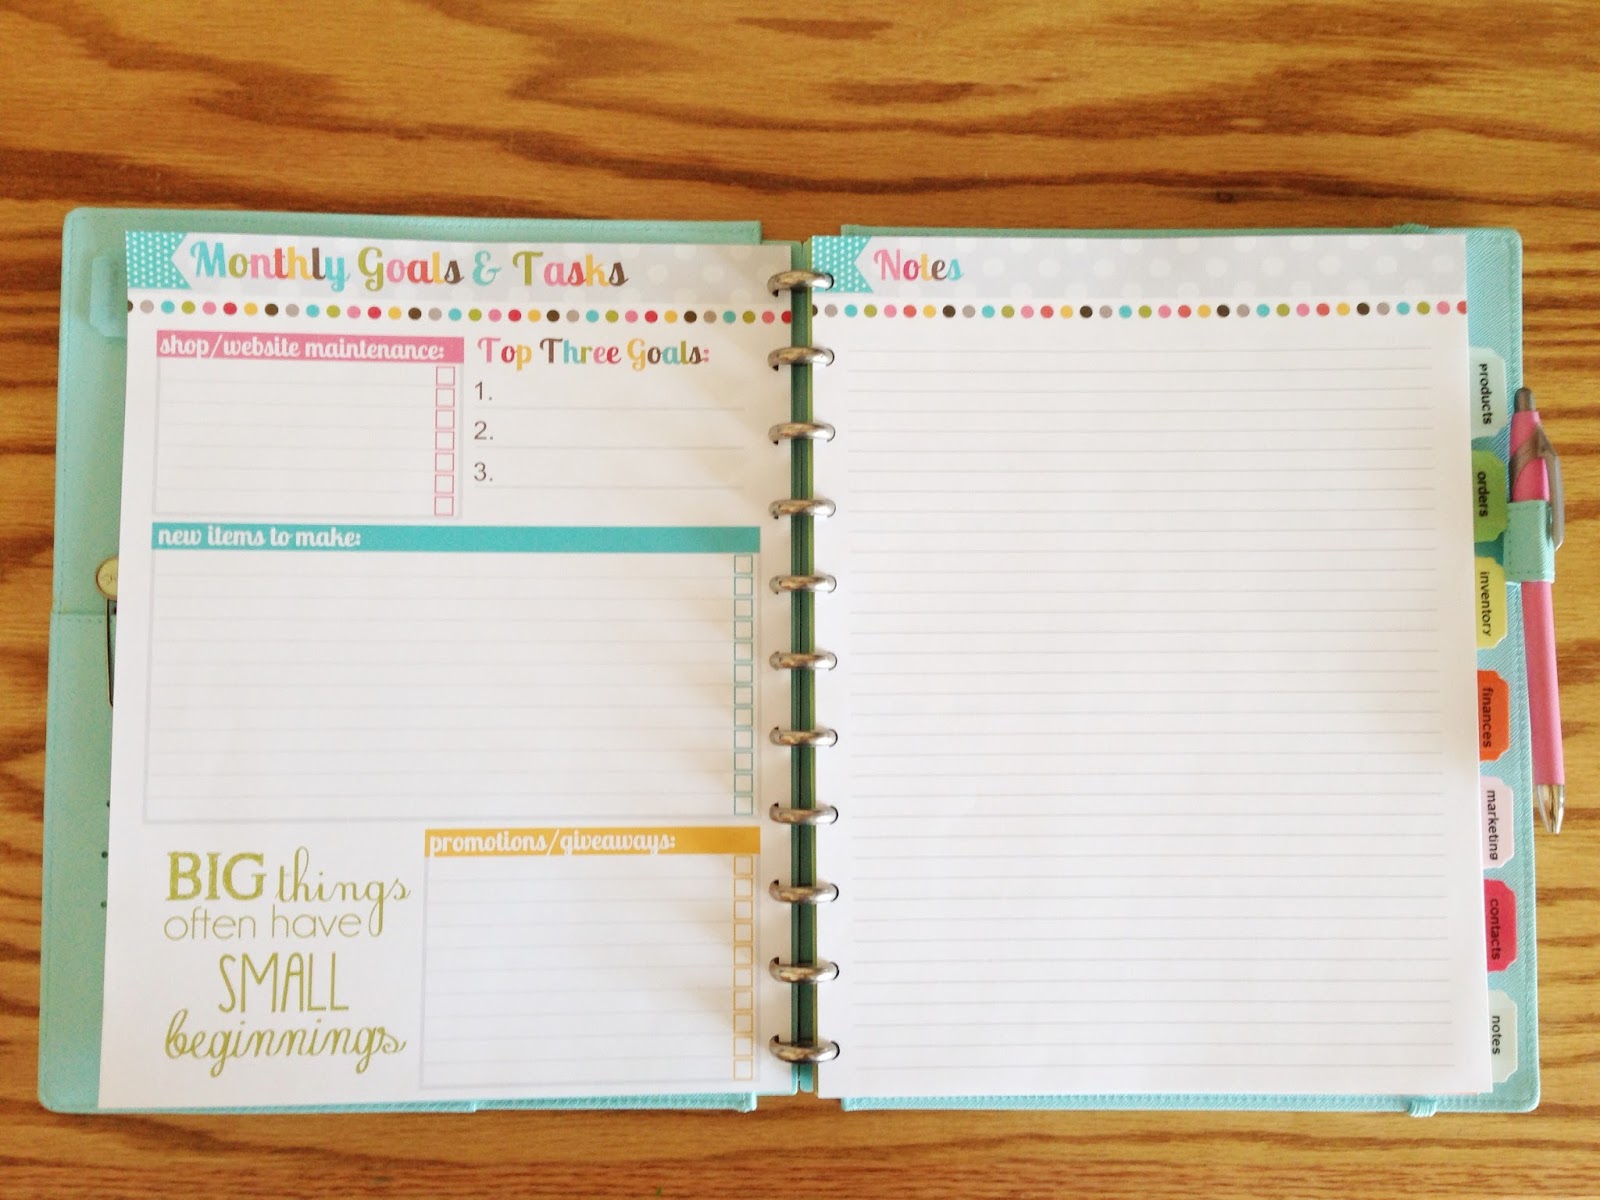
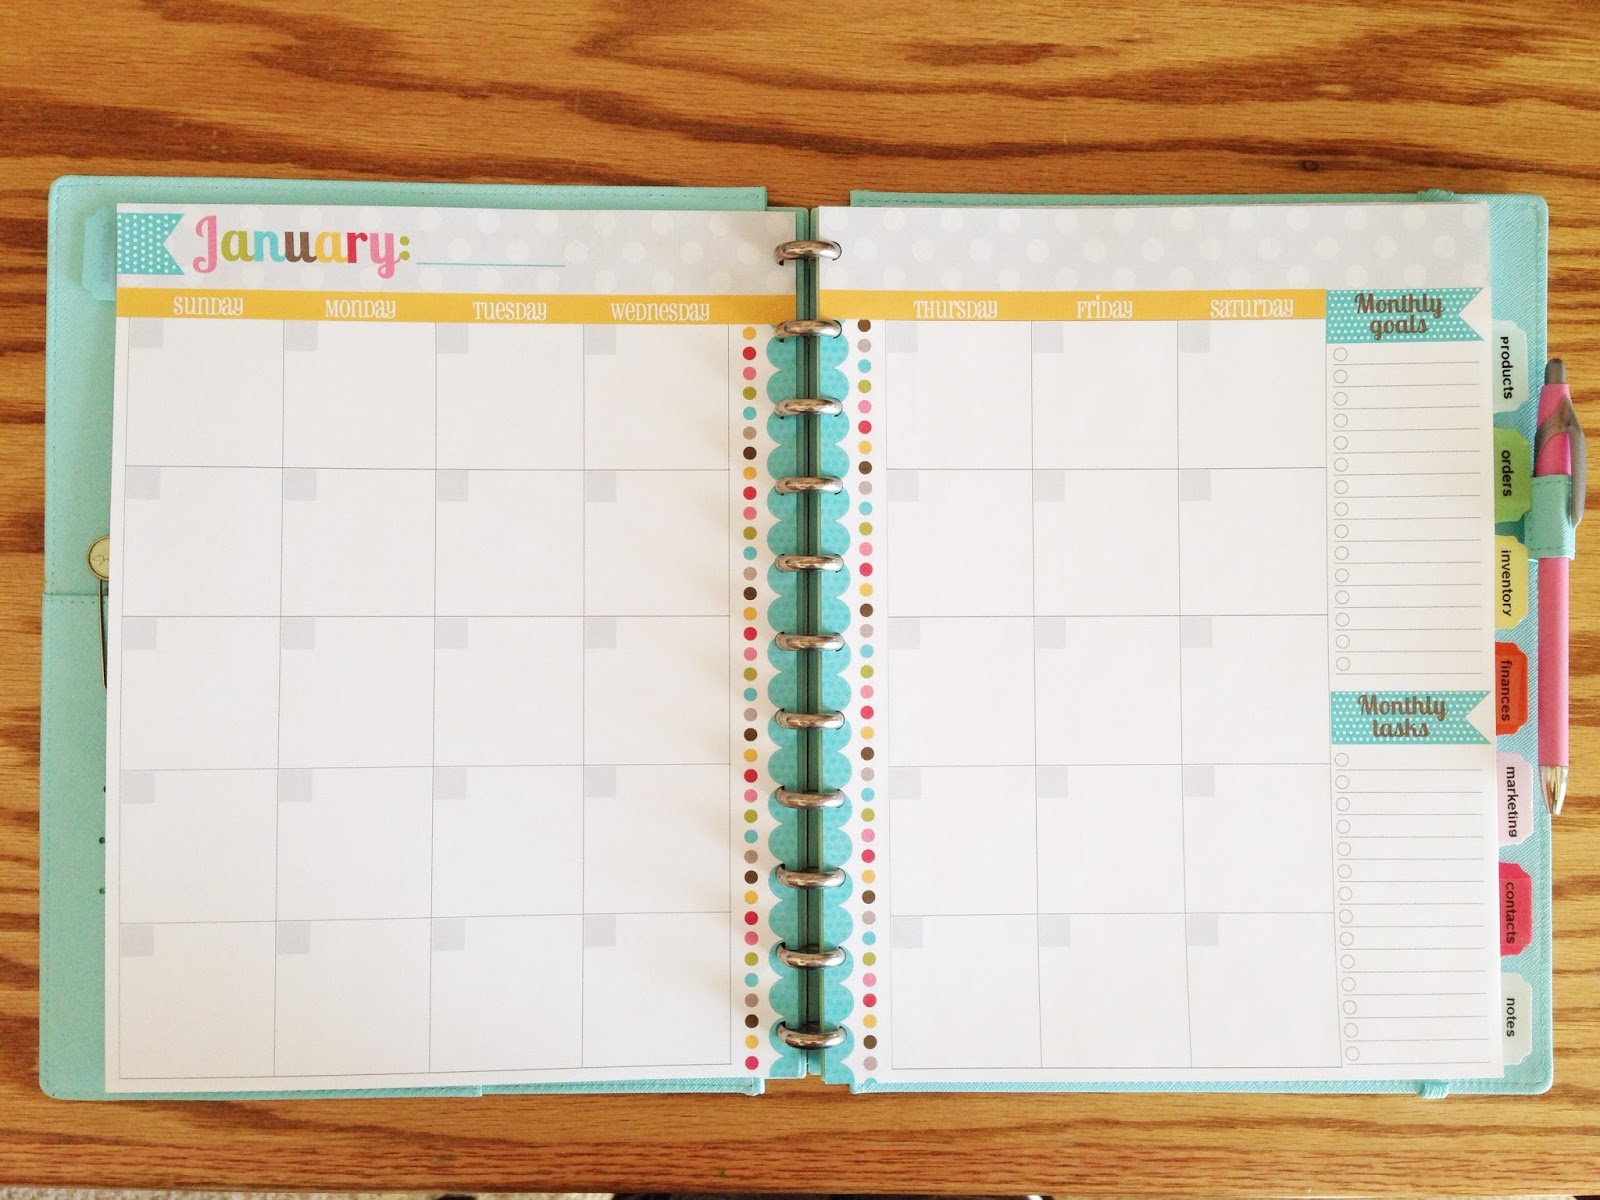
But now, as a Mommy, teacher and shop owner…my organizational needs have changed. I do still carry a personal planner {that holds my calendars, health & fitness pages, travel info, etc.} and I also have a Home Management Binder {that holds all of the kids' school and activities schedules and paperwork, important contact information, etc.} 

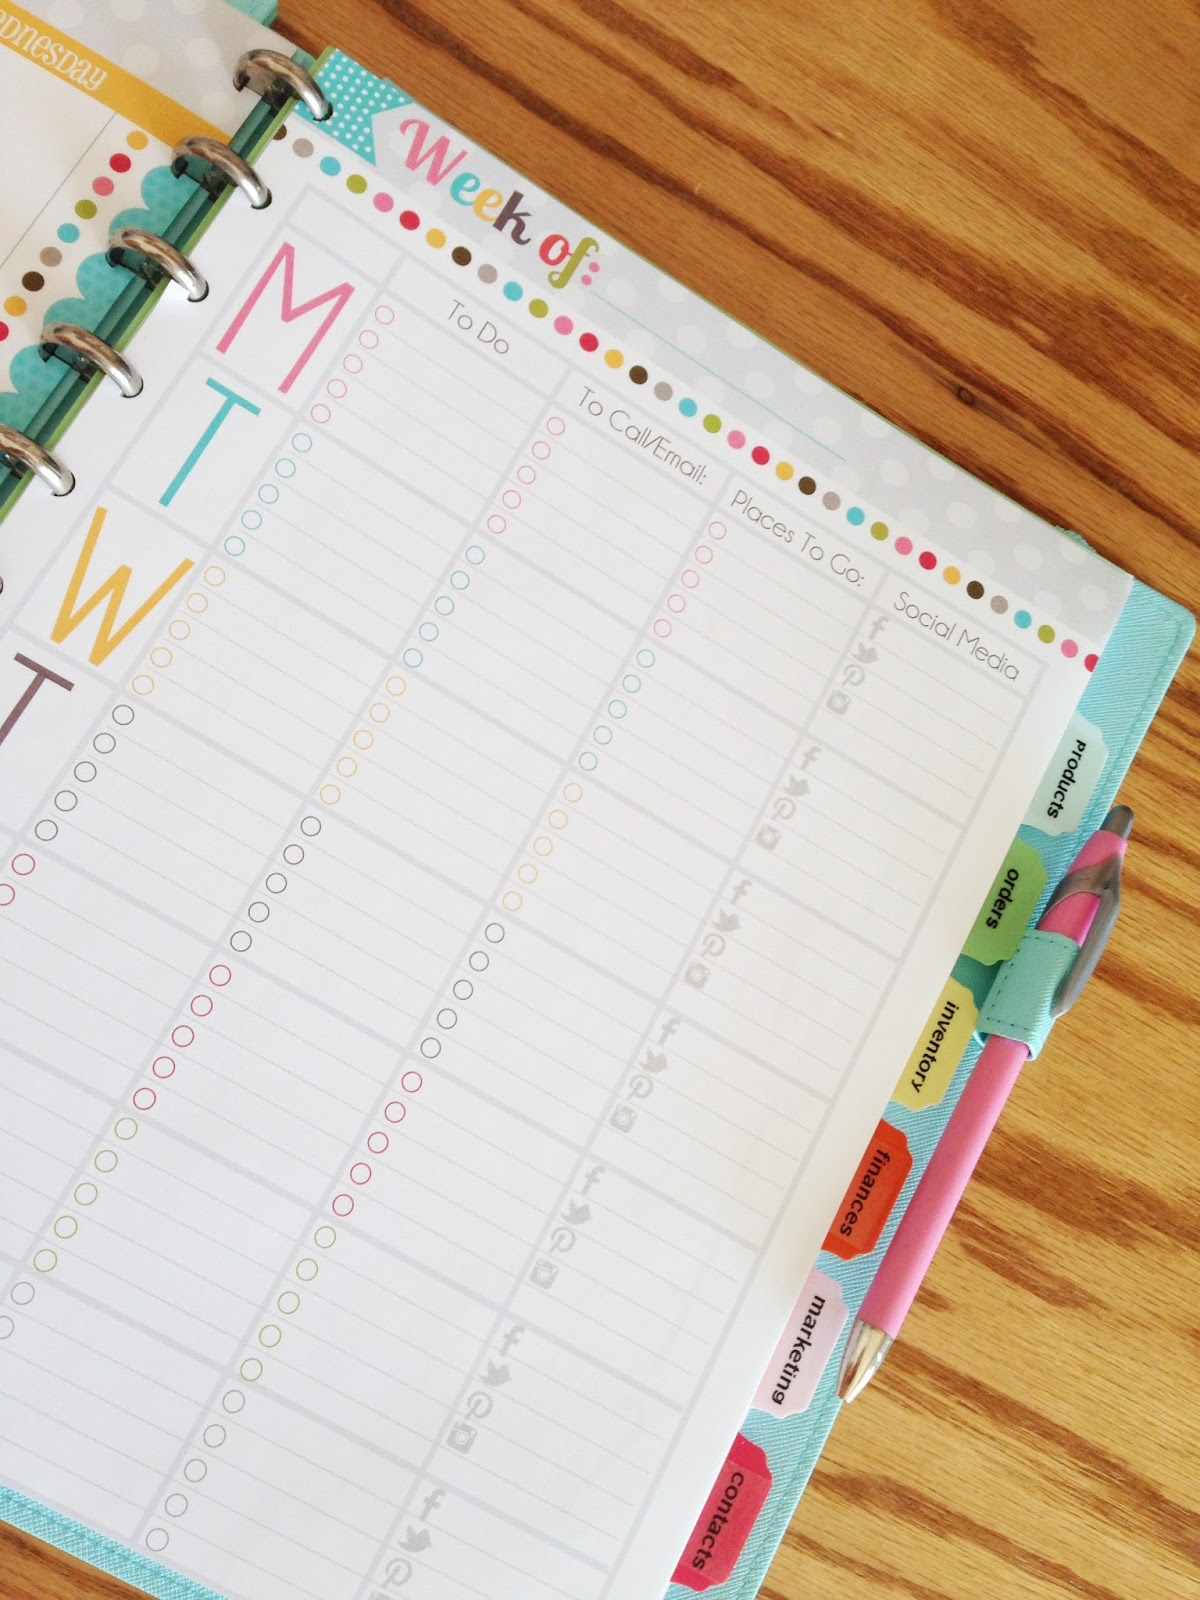
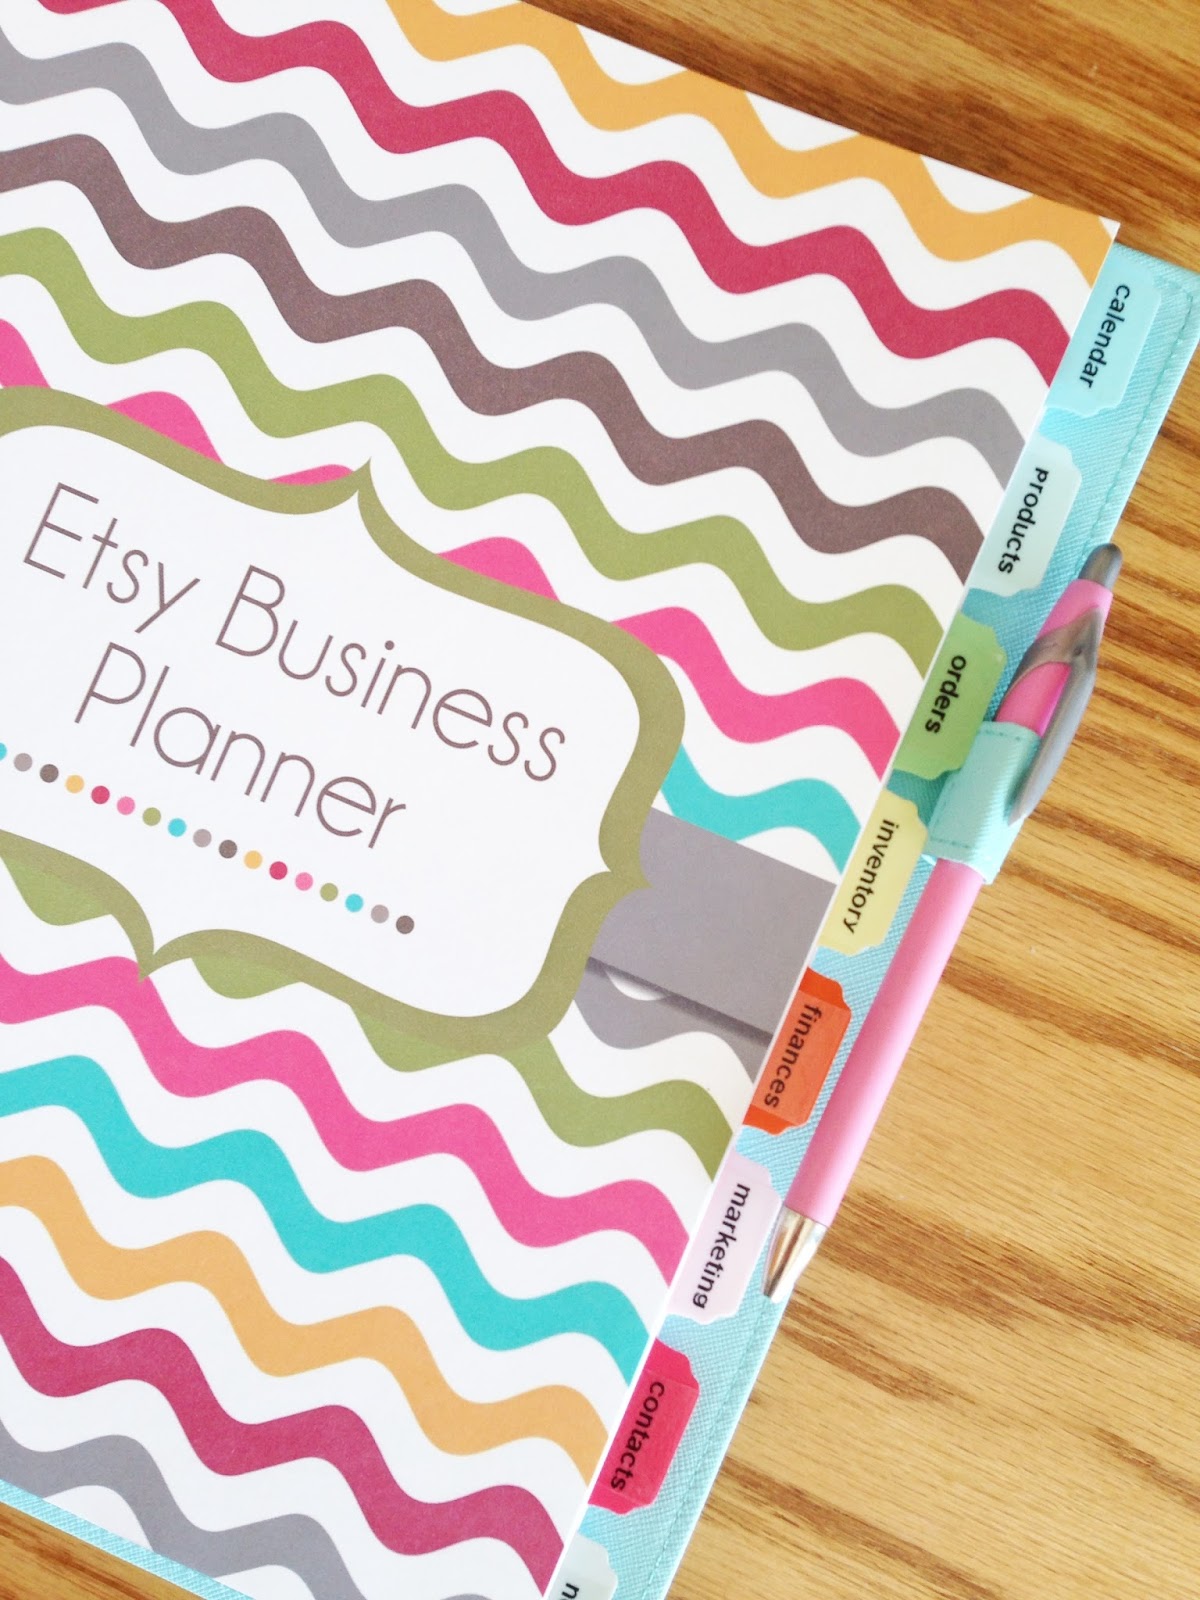
But for my two jobs…I have found that it makes the most sense to give them their own planners. That way, when it's time to head to campus and teach or attend a workshop, I can grab my Lesson Planner and head out the door. No more fumbling around for the papers I need or the notes I've taken. They are all in one place in their own planner.

I also do this with my Etsy business now. I find that having all of my documents in one place makes it easier to stay organized and track more efficiently {you can read all about how I organize my Etsy and Small Business Planner here}. 

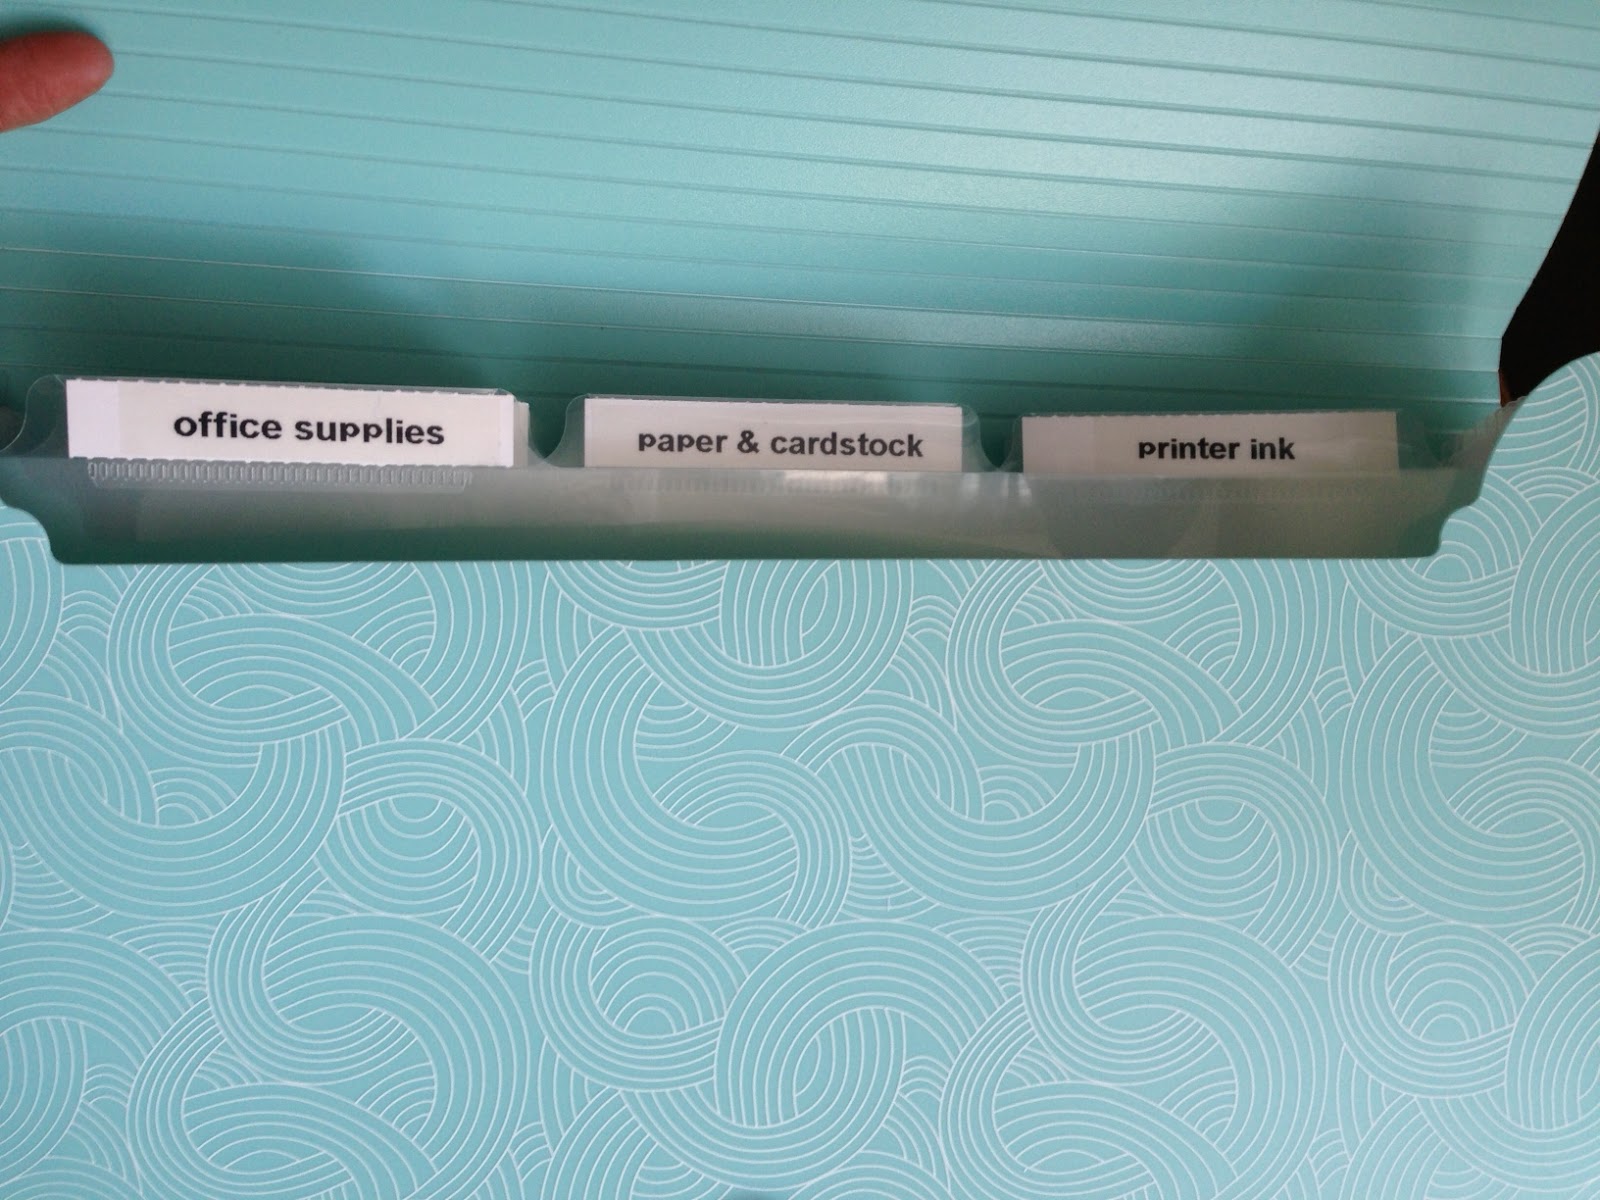
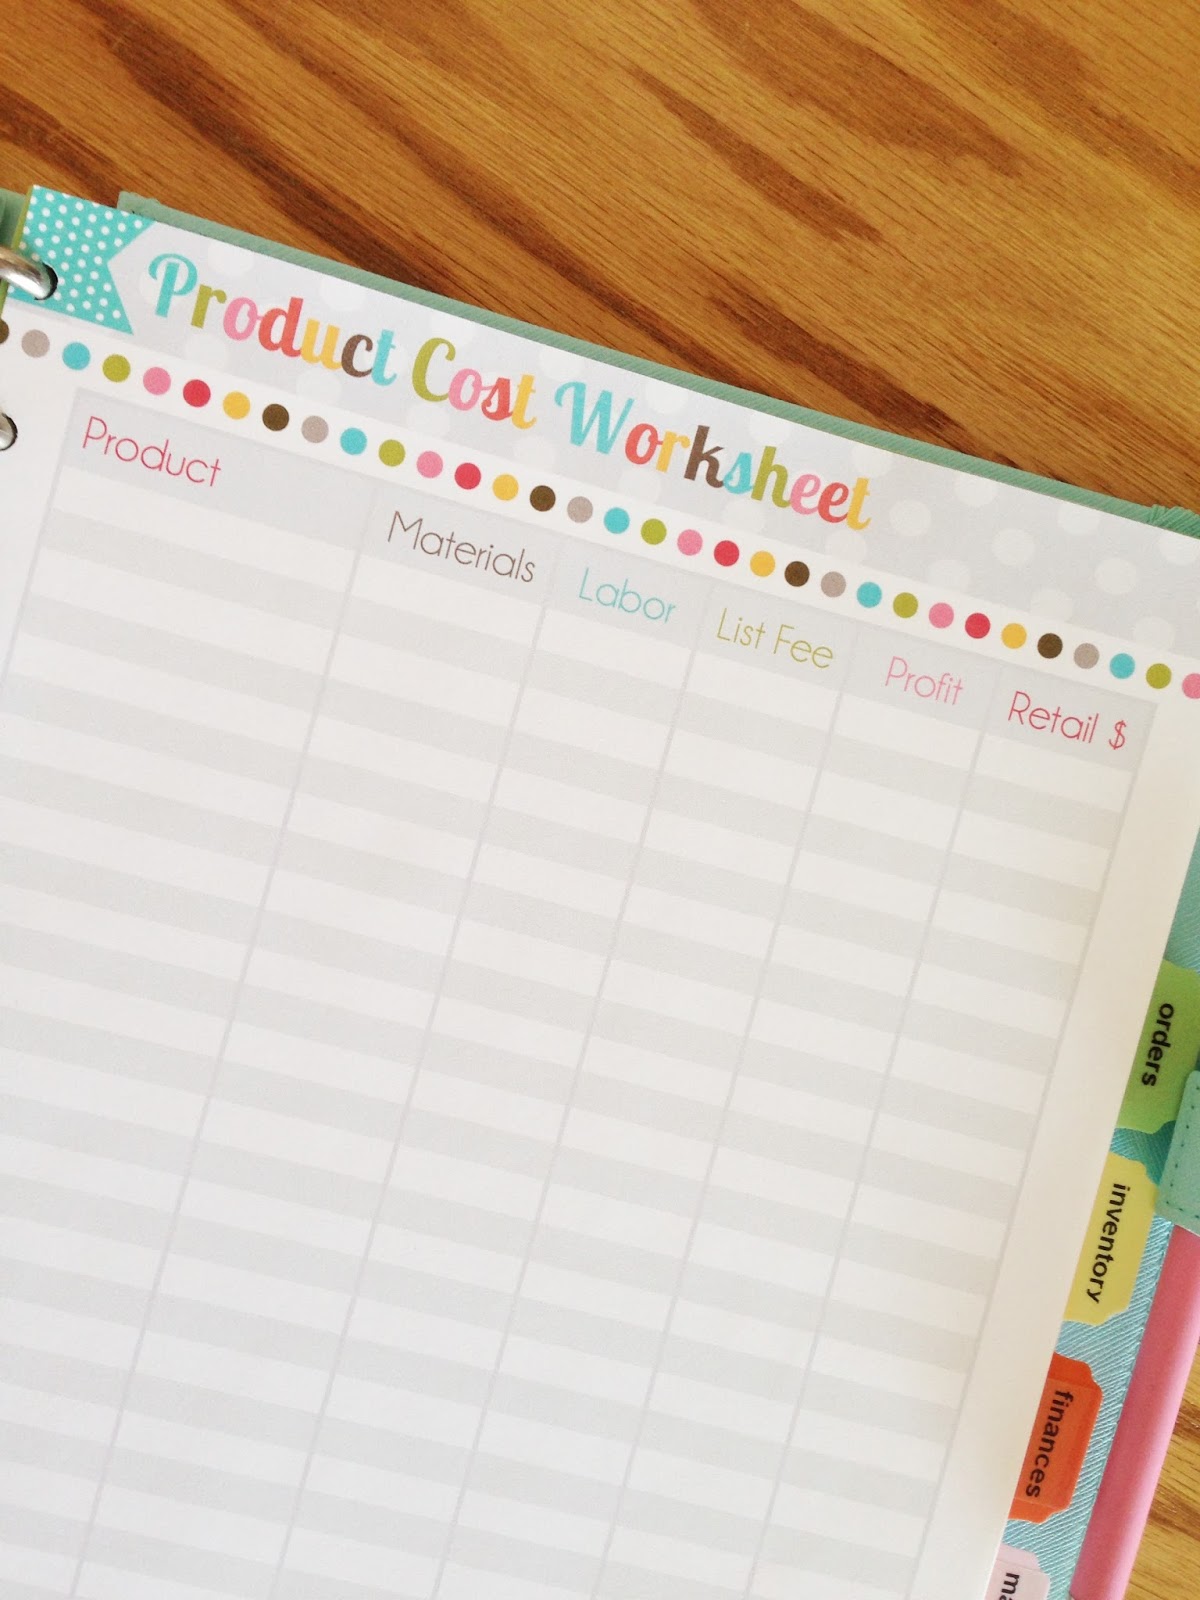
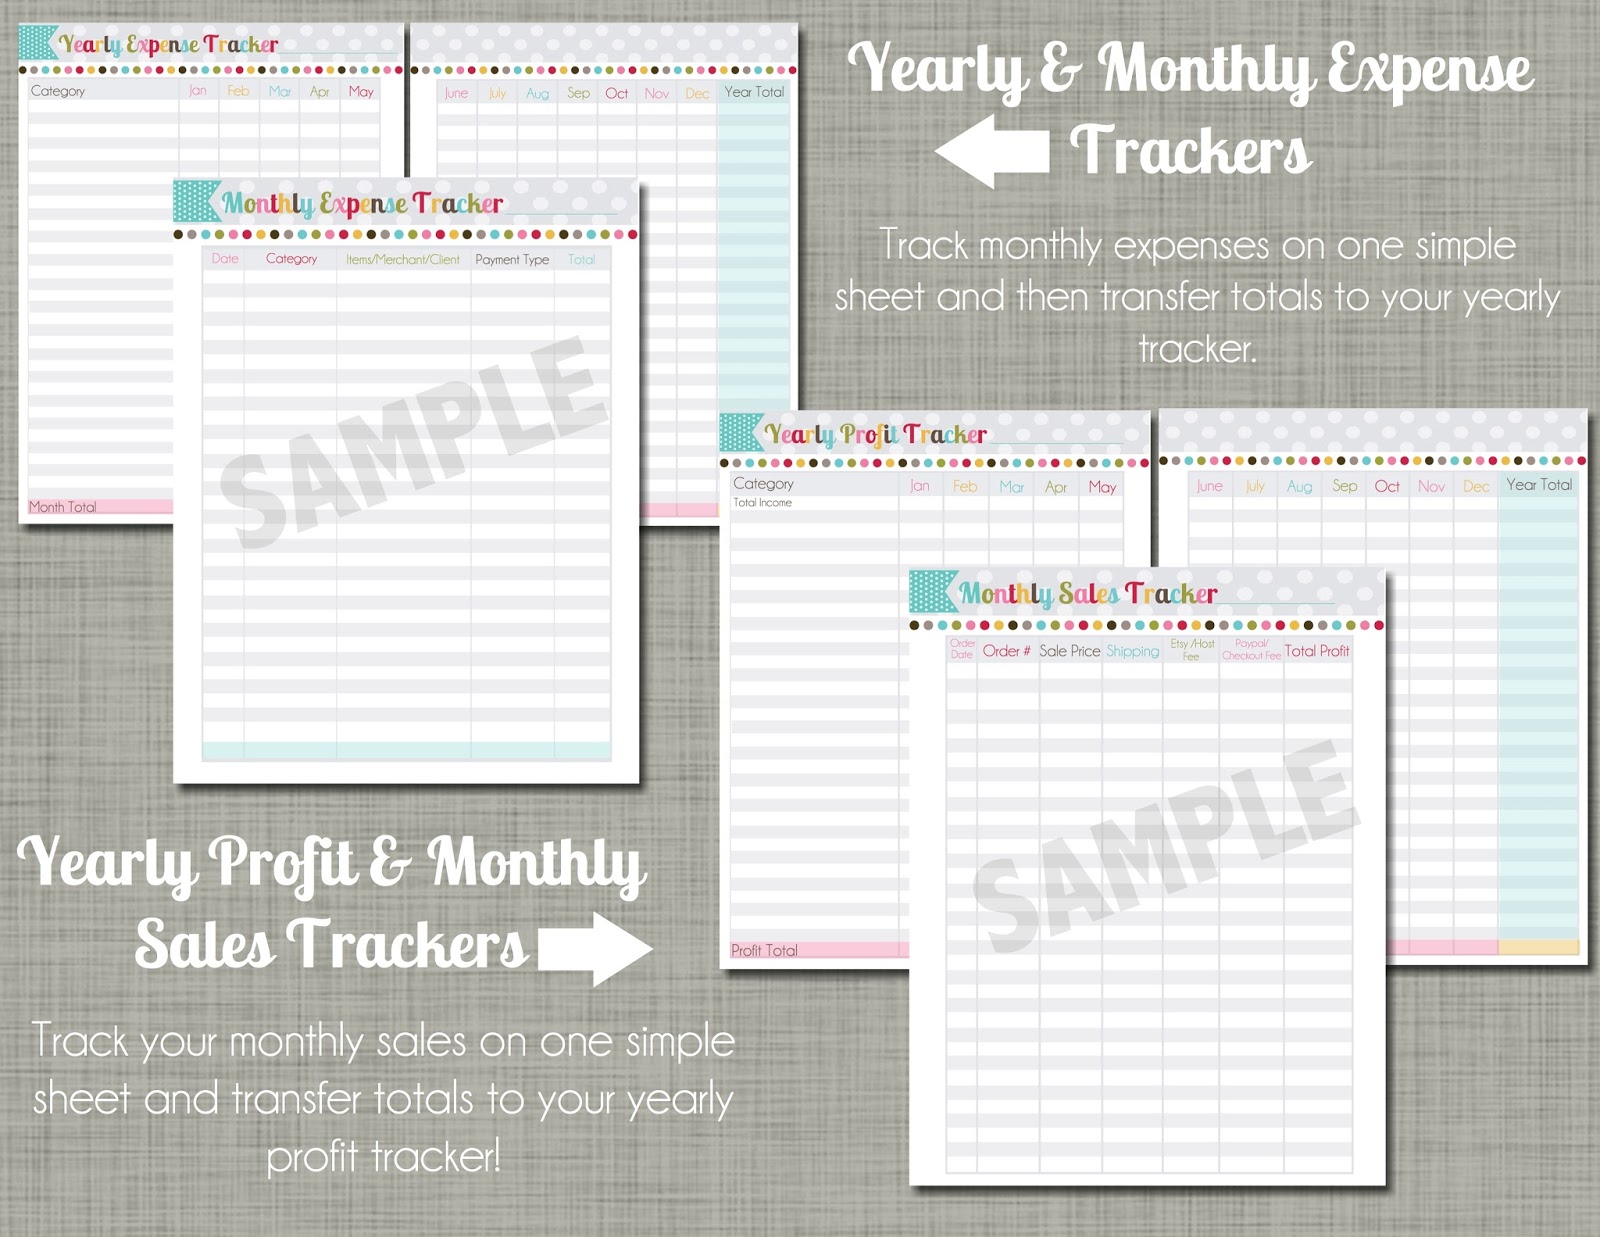
I have also found that keeping track of my business receipts and paperwork in a labeled accordion file is a lot more organized then tossing them into a big file drawer.


I also keep my planner and file folder together above my desk so that when I do my book keeping, I have them within my reach.


Having a portable system like this allows me to grab my business and take it on the go when I need to work away from home.

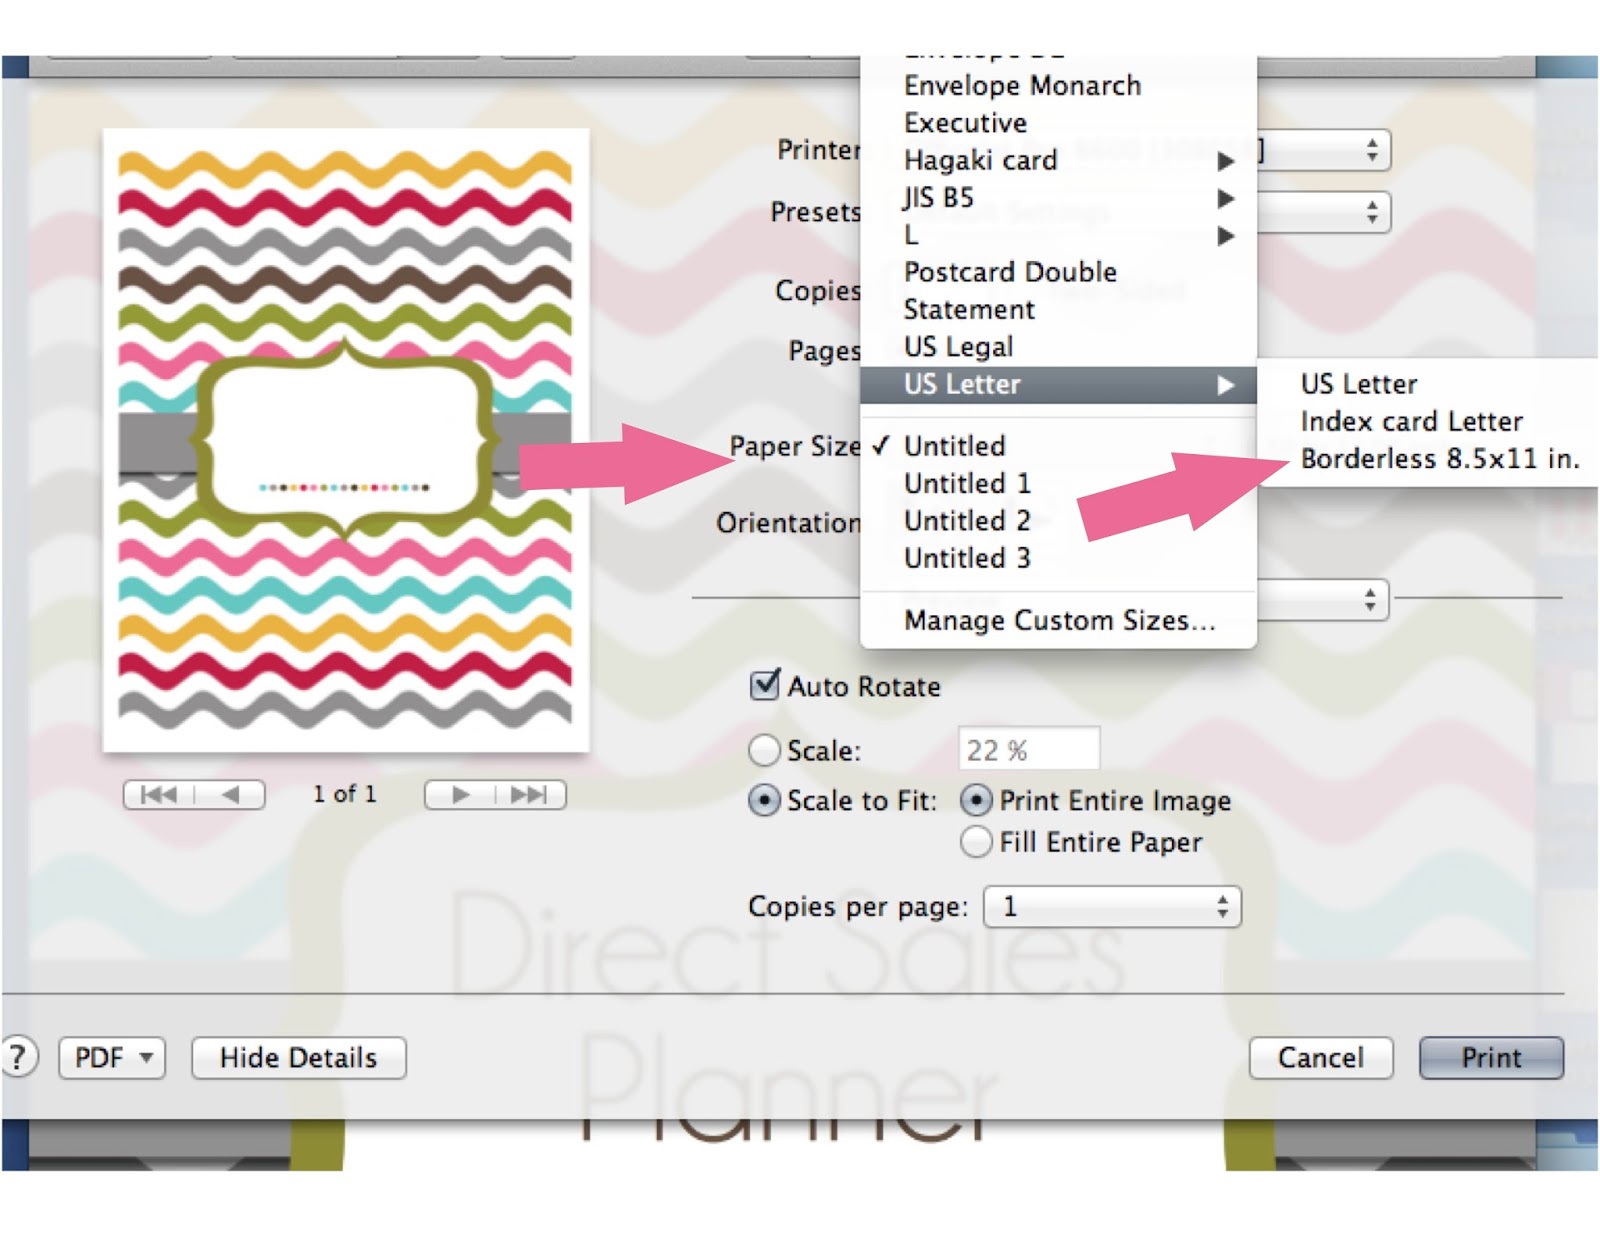
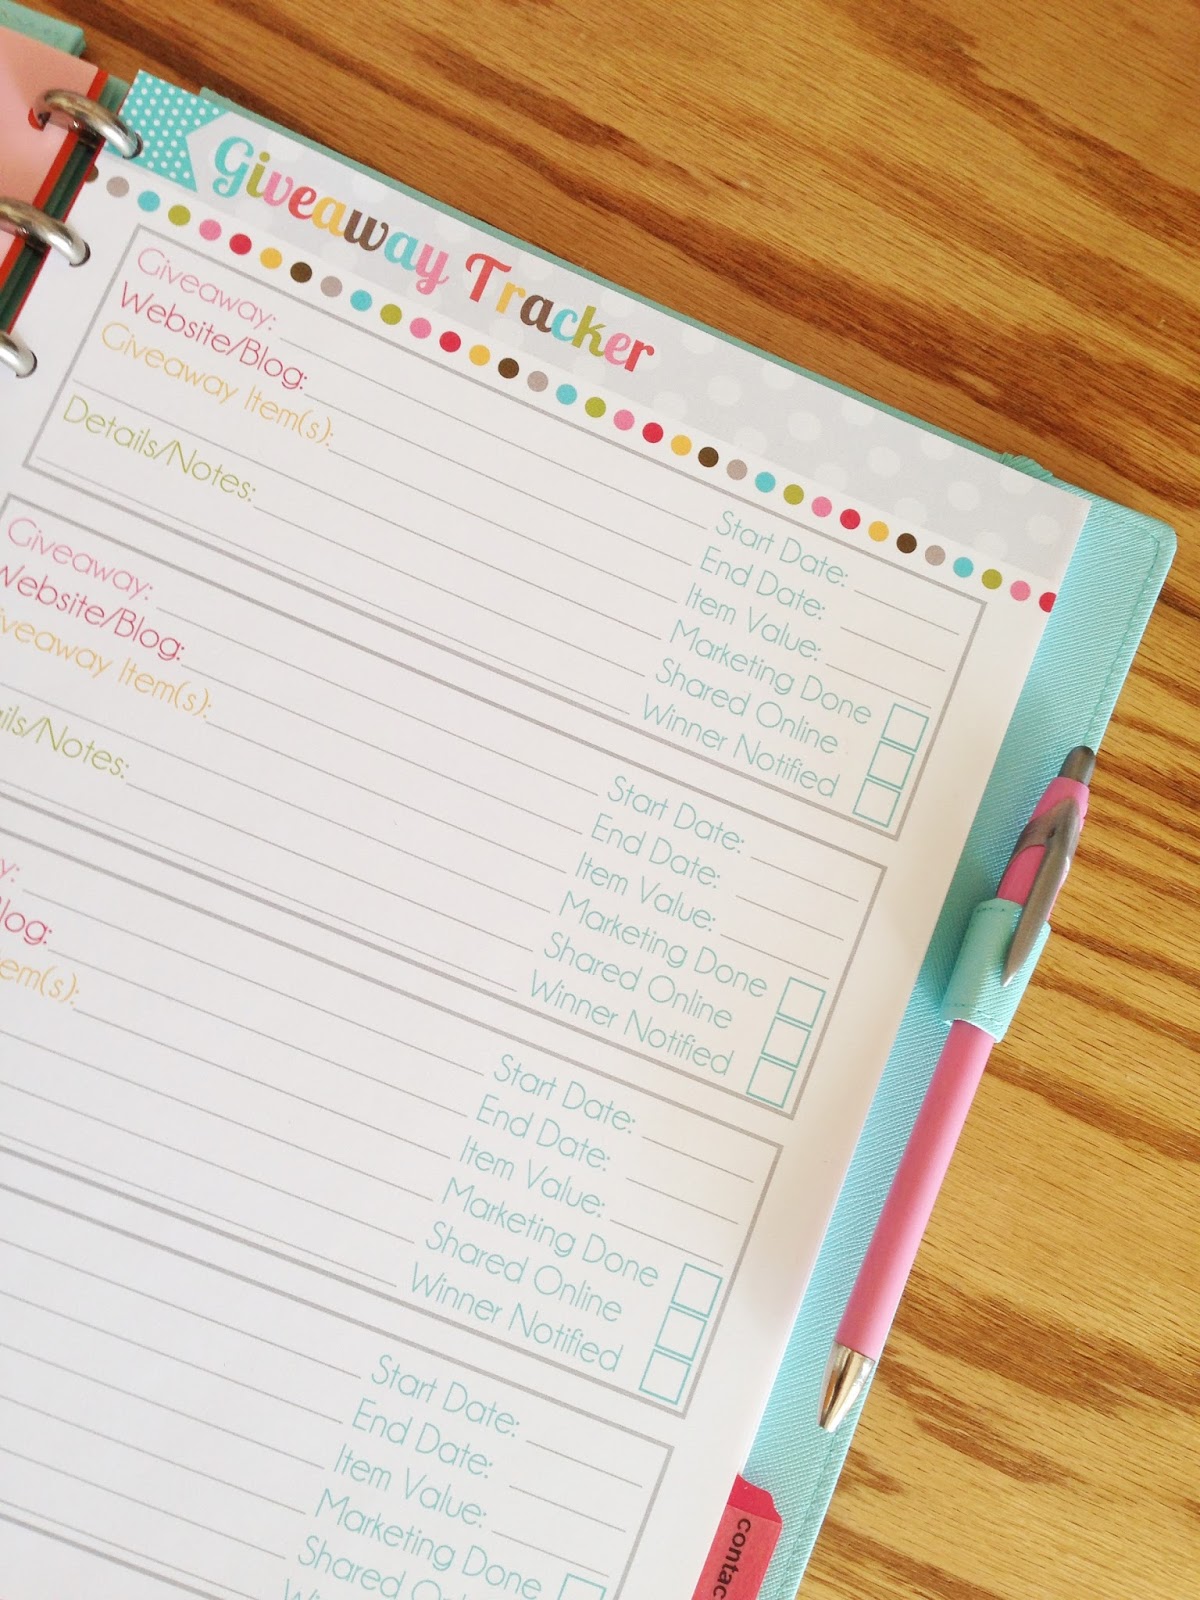
For those of you in the Direct Sales Business, you know first hand how important it is to have everything with you when you do home shows, events, trade shows and conferences. You can read about the Direct Sales Planner we have available in the shop now and hopefully it is something that you can use to make your portable system more efficient and organized.

4. Find the Perfect Portable Workspace

Speaking of being on the go…raise your hand if you are constantly on a quest for the perfect work bag? Are you raising your hand? Me too. Or at least I was until I stumbled upon the most perfect portable workspace at The Container Store.


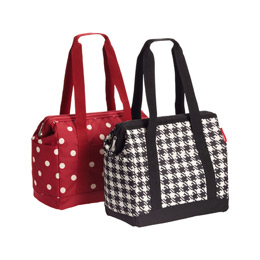
I have always been a big fan of Reisenthel products. They hold up to EVERYTHING and they always have fabulous patterns and designs. When I saw their Small Allrounder Bag, the first thing I thought was…"It's a Mary Poppins Bag!"

And that it is, my friends. Because I am an adjunct instructor, I don't have my own classroom on campus. All of my textbooks (I have to carry at least 3), my lesson planner, all of my dry erase markers, school supplies, umbrella and other essentials need to be toted back and forth to work with me. I happily own a closet full of different work bags, some that I still love very much, but the ONE THING that drives me absolutely crazy about most work bags is that things fall to the bottom. I also can't get them open wide enough to search for the things I need while I am teaching. 

But this bag…I could practically crawl inside.


It is PACKED with pockets on all sides to hold my pens, markers, supplies, umbrella, water bottle and more. And the center holds my Lesson Planner, 3 textbooks, 2 folders and my personal planner WITH ROOM TO SPARE!! At has a nice wide bottom so it sits right without toppling over and just LOOK HOW OPEN IT IS!! I really can't say enough about this bag or how perfect it has been as my portable workspace/classroom.

If you are on the hunt for a new work bag, I highly recommend you check this one out, especially at the $34 price point. But if that is still out of your budget, just remember that the same concepts for your home workspace should apply to your portable one. Everything you need should be within your reach. You shouldn't have to dig to the bottom of a big bag or scramble to find the things you need when you are on the job. The bag should be nice and open, have lots of pockets, and plenty of space for your necessities and a few fun accessories. 

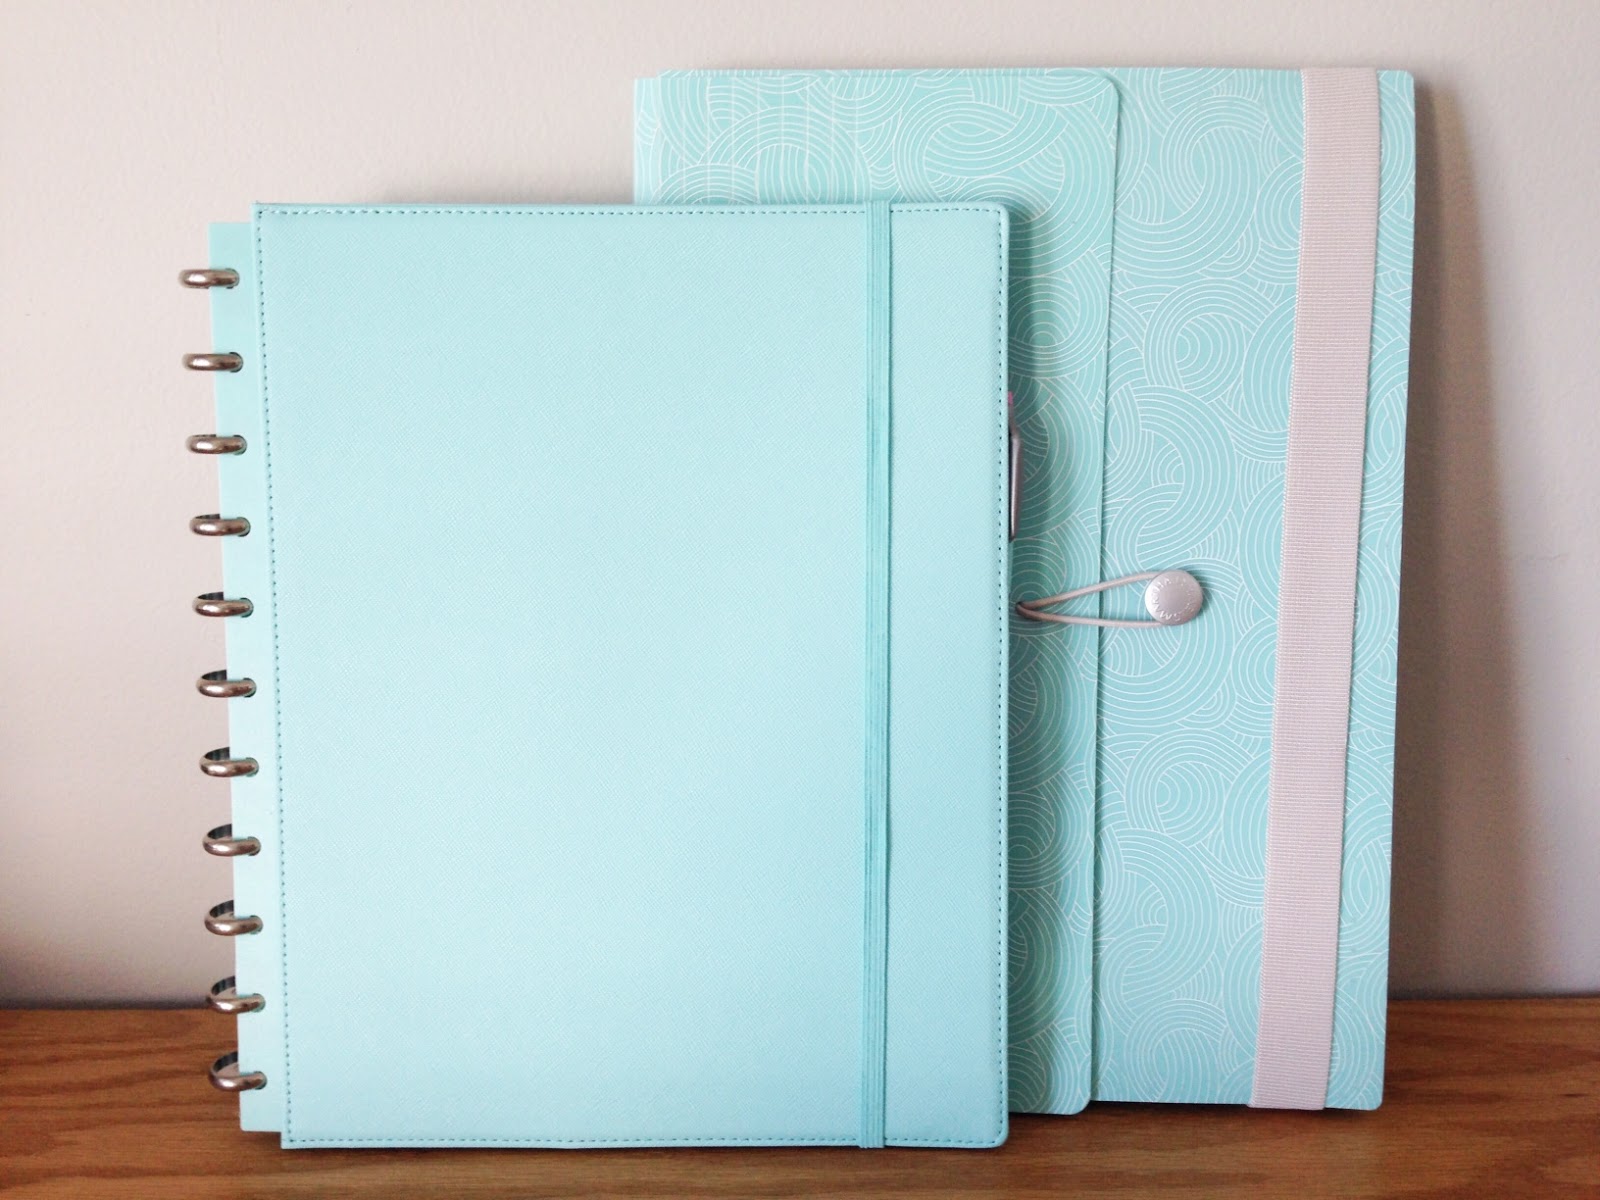
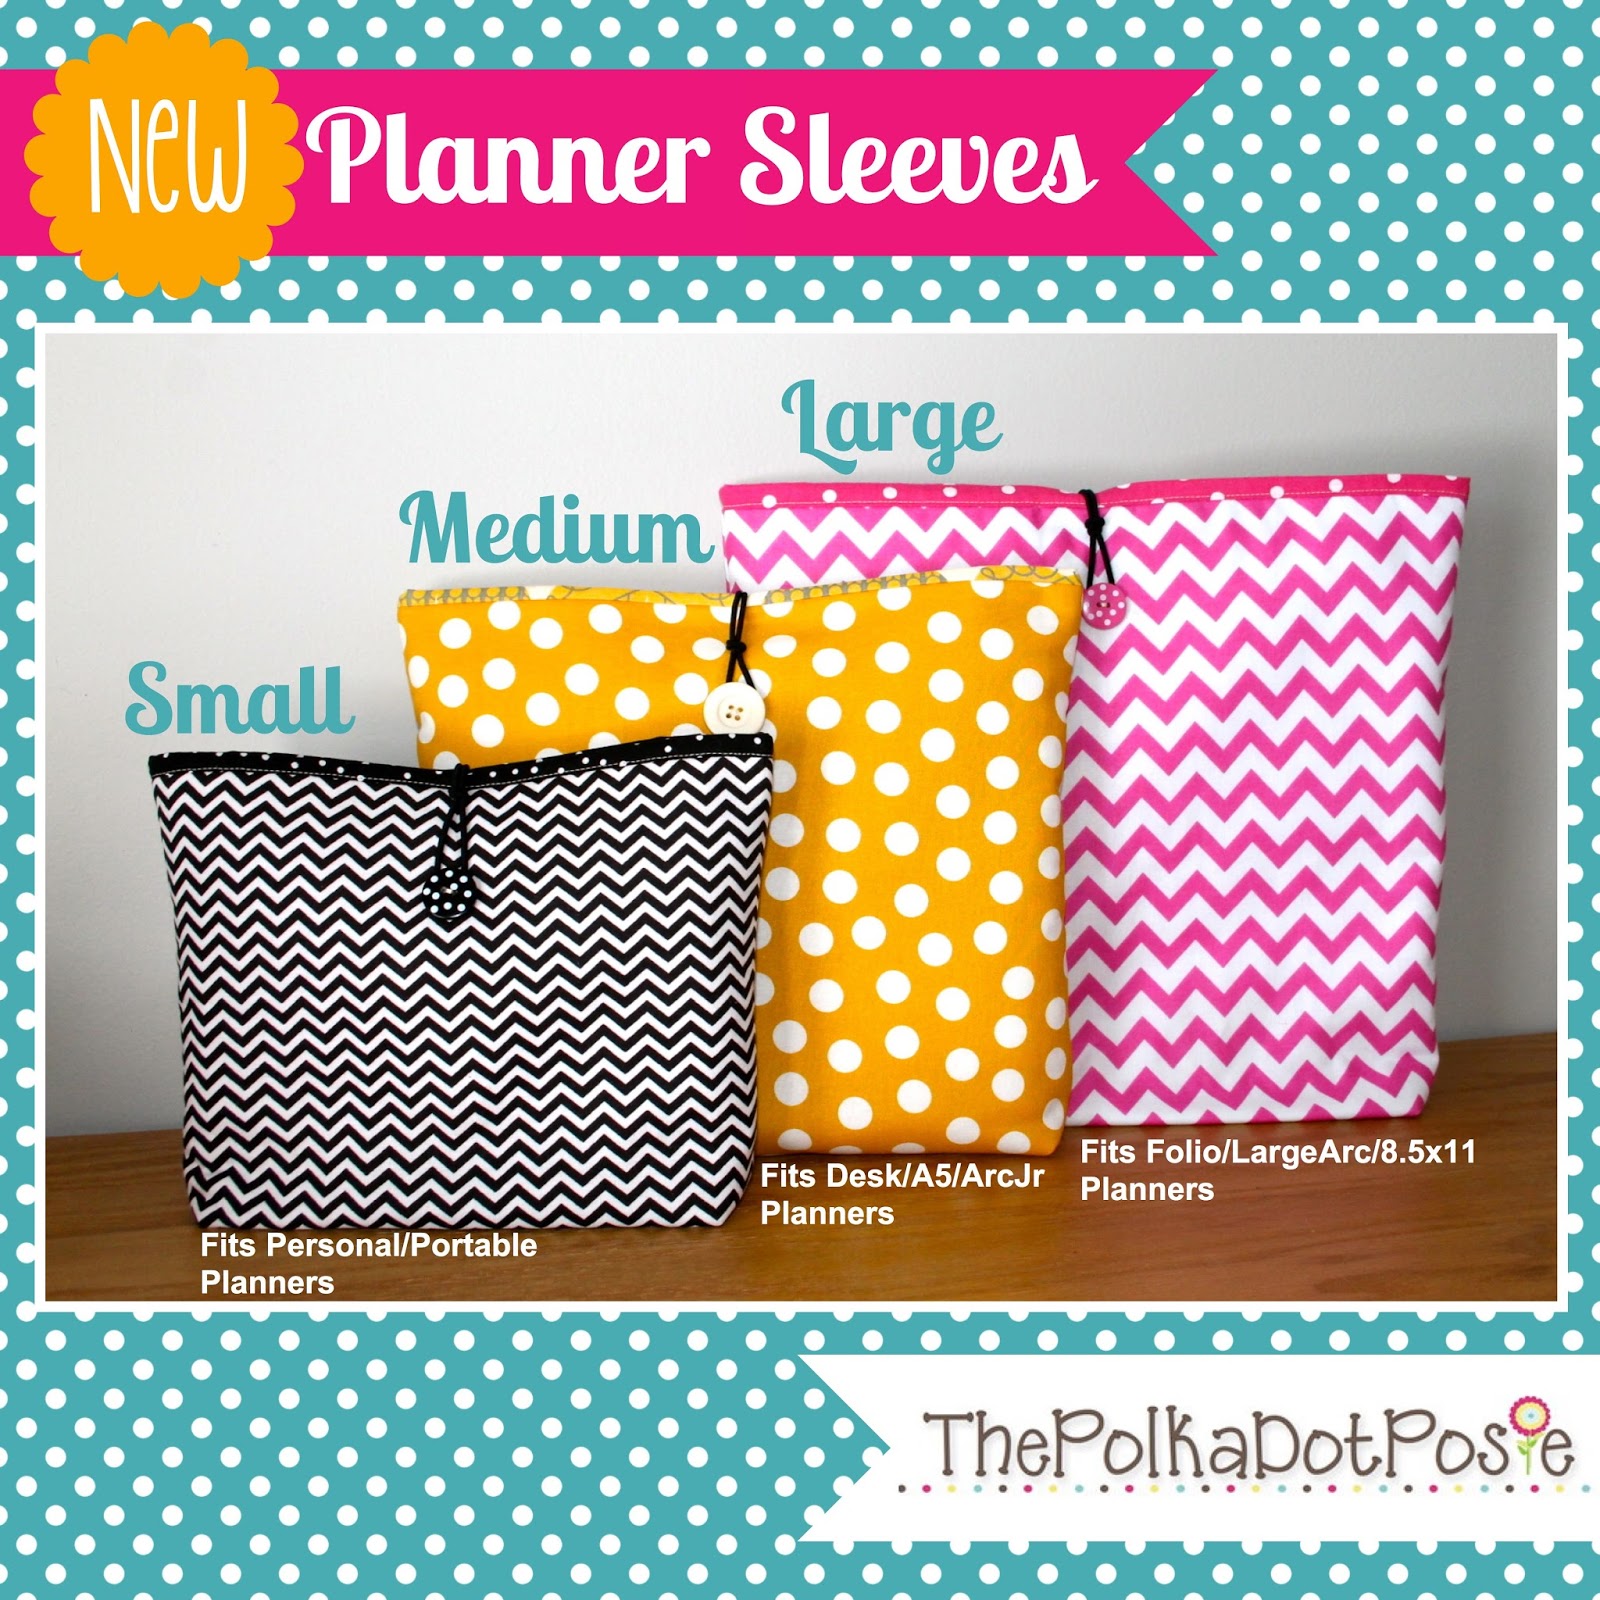
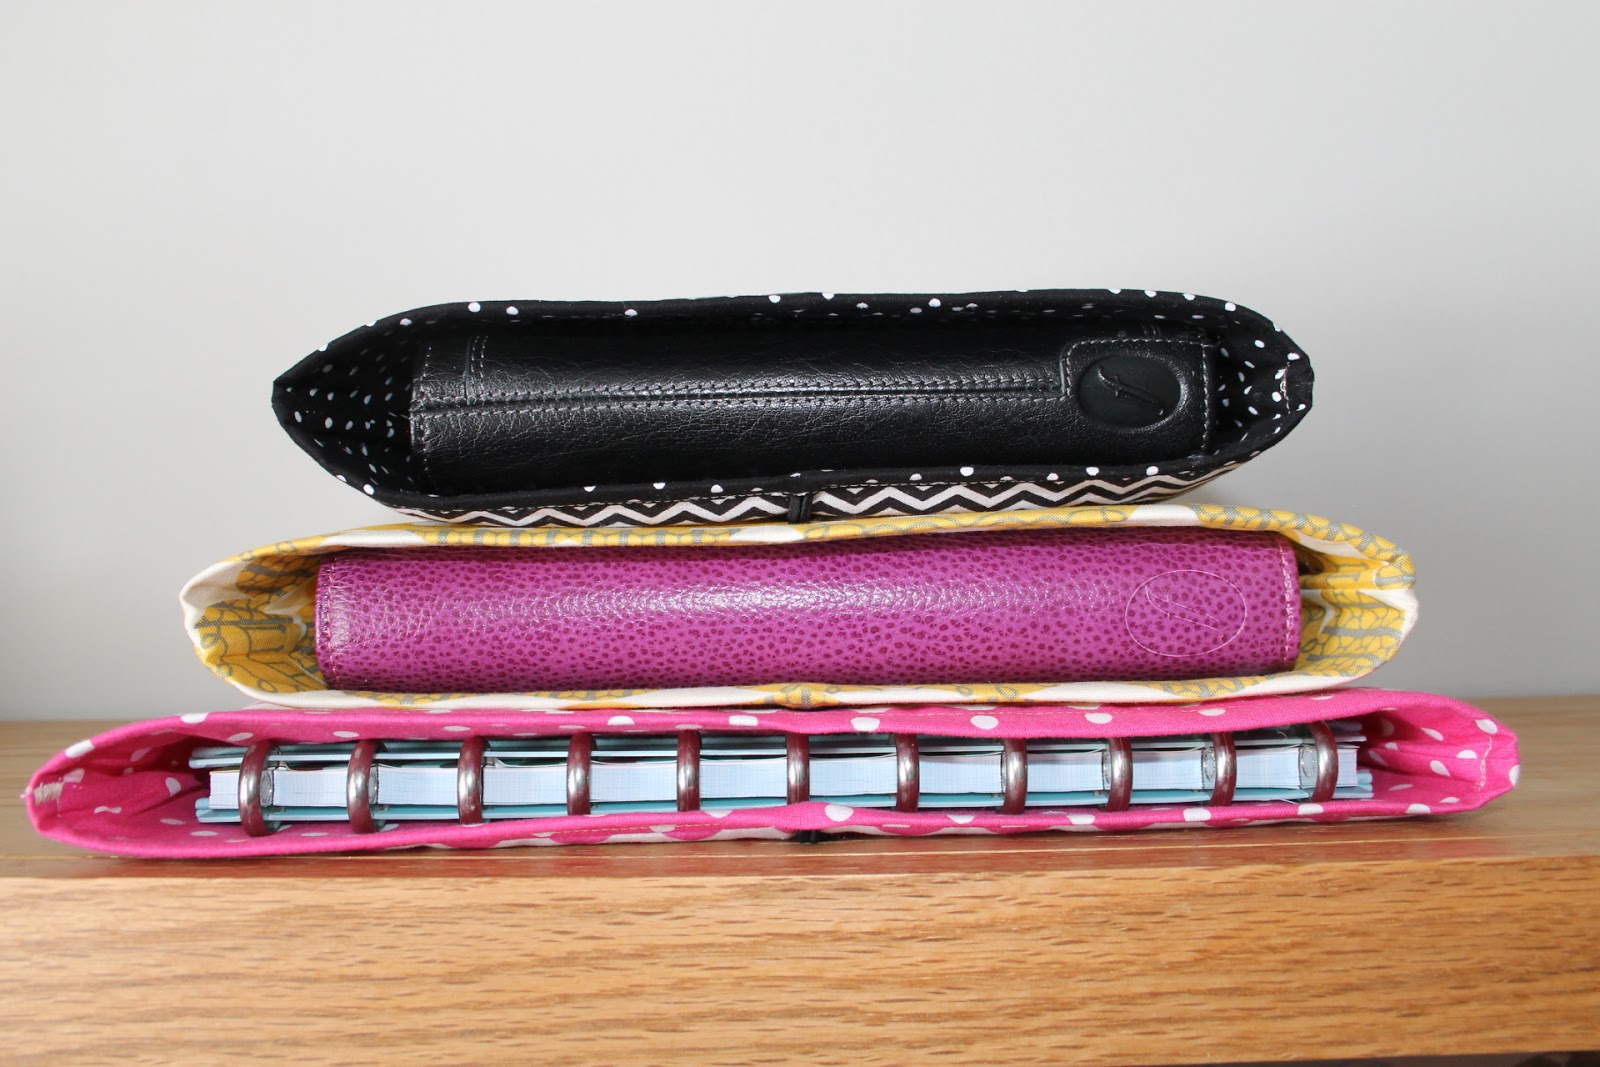
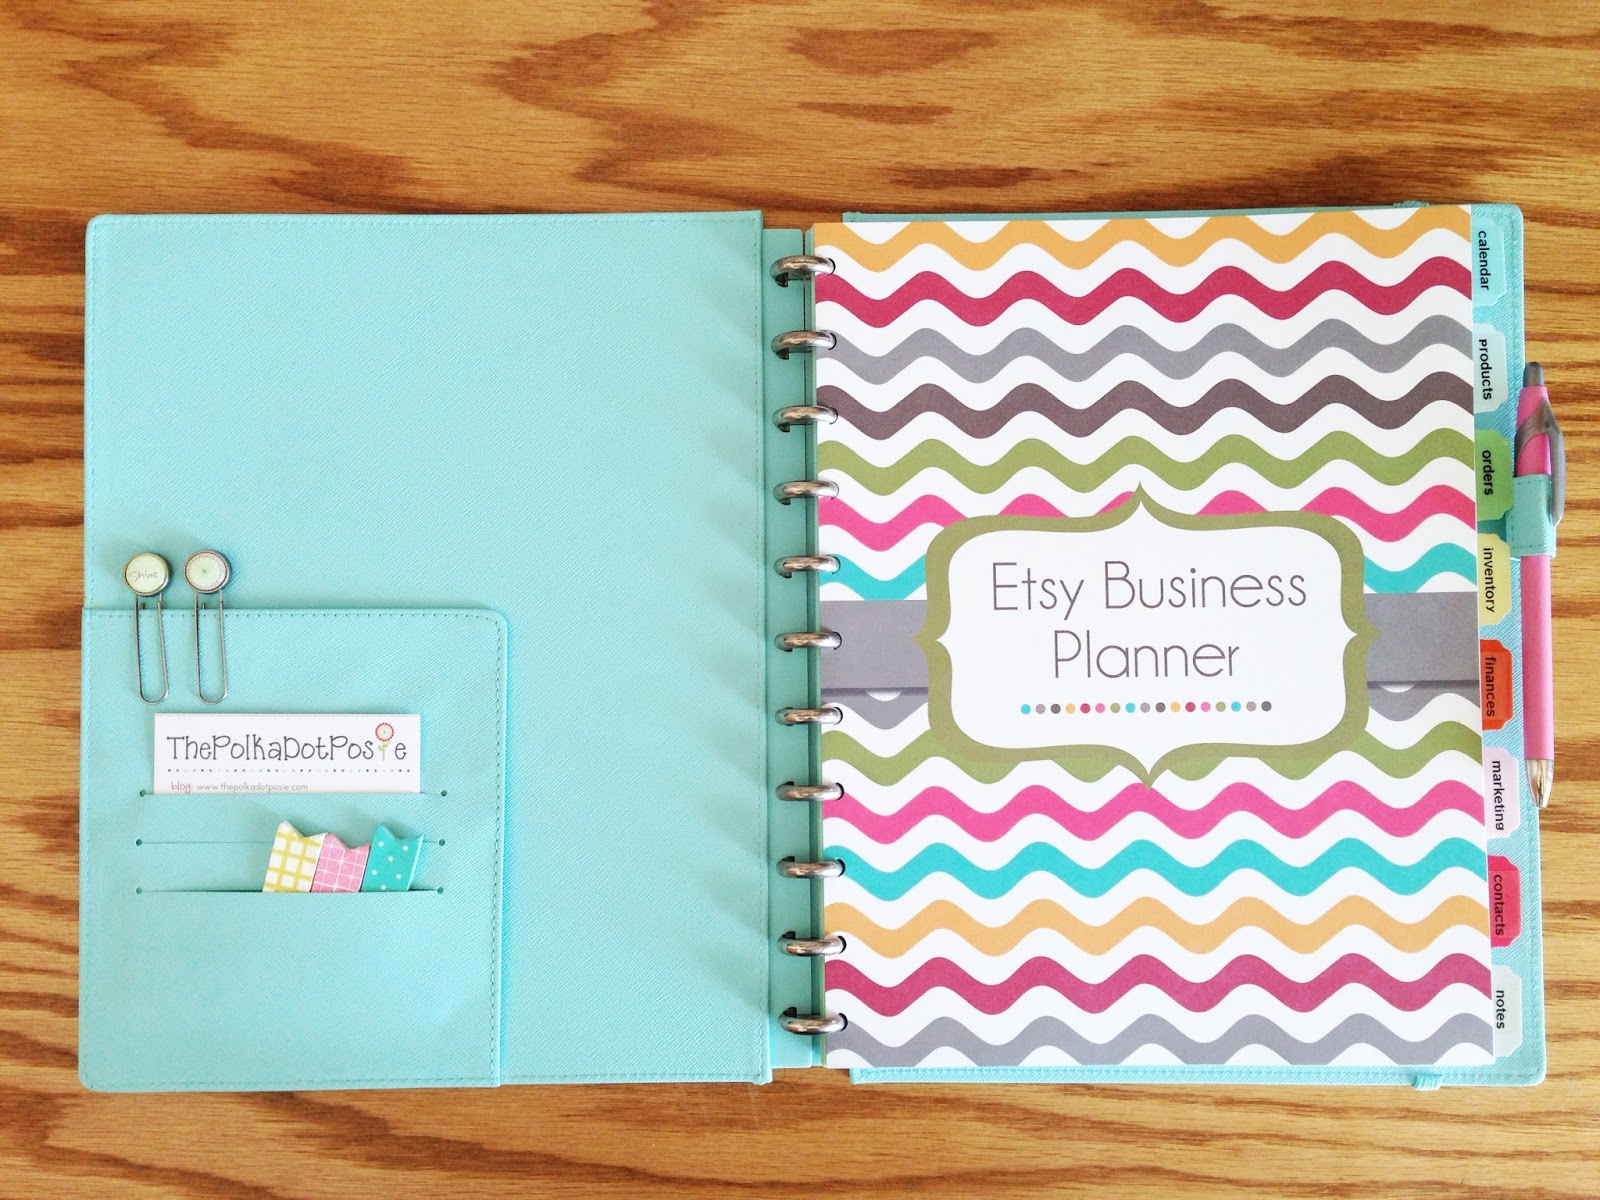
And speaking of accessories…you see that adorable lime green chevron sleeve my planner is in? That is one of our newest products!! After ruining too many beautiful planners with scratches, ink stains and water marks…my mom decided she needed to create something to protect our planners in and out of our bags. So friends, I give you our...


They are now available in our shop in multiple sizes and you can check them out HERE.


5. Be Open To Trial & Error

If I told you how many times I have rearranged my office, or how many work bags I have bought and tried, or how many planners I have sitting in my closet…you would know just how big a fan I am of Trial & Error. What works for one person and their job, doesn't always work for another person. And, what may have worked for you at one stage in your life, may not work for you now. 

Creating a workspace that is adaptable to your changing needs is so important and you may find yourself trying something new every week until you get it right. And that's okay!! That's the process of organizing…trying new things until you find a system and a setup that you can stick with!! For me, designating a workspace {regardless of it's size}, having important things within my reach, creating multiple planner systems to organize my home and my career and of course, making it all portable are necessities. It's how I work best and I only know this because I have spent a lot of time discovering what didn't work.

So..if all of you could share one tip for organizing your workspace, either in your office or on the go, what would it be? Sharing is caring :-)

Well I hope you have enjoyed this months organizational project, even though I am getting it in under the wire :-) But stay tuned for Month 3…it's all about SPRING CLEANING!!! Woohoo!!!


Wednesday, February 19, 2014

Introducing Our Etsy & Small Business Planners!

When my mom and I started our Etsy business together two years ago, we were clueless about the types of documents we would need to keep our records organized. In the beginning, we just flew by the seat of our pants…jotting down custom orders on sticky notes and tracking expenses by shoving receipts into a file folder. 

But as our business began to grow, we realized we needed a more efficient system. We needed a planner just for our shops that would help us track expenses and sales, inventory and supplies, business contacts and customer orders, marketing and promotions, etc. My mom joked and asked if I knew anyone that could make something like this for us :)

And so my project began…


Developing a planner that would work for all Etsy and Small Businesses was a challenge, especially because I am a printable junkie and find myself wanting a list or tracker for everything. But in the end, we narrowed it down to the essentials and found good balance in the categories we created for our planner. Here's a little look at what our new Etsy and Small Businesses Planner has to offer:

As always, we are offering two different sizes in this planner with two different cover options to choose from, depending on your business.


How you organize your business planner is up to you and the files in our planner sets are flexible enough that you can arrange them any way you like. But if you are looking for some guidance in that that department, these are the categories we use with print instructions on how to set up each section:


CALENDAR:

In our calendar section, we include our Monthly Goals & Tasks page, which is placed before each month with a Notes Page.


This is where we write in tasks for the month, like updating our website, shop and blog, and also plan out any promotions or giveaways we want to offer. There is also a large section for listing new product ideas, as well as a "Top Three Goals" section to keep us motivated. We use the Notes page to jot down quick ideas, tasks, ToDo's, reminders, etc.

Following the Monthly Goals & Tasks section is our 2-page monthly spread.


There is the option to include weekly pages after each individual month, but we like to clump our weeklies together at the end of the Calendar section. We only keep about 1-2 months of weeklies in the planner at a time, to keep from the binder getting too bulky.


We use our weekly pages to track our ToDos, People to Call/E-mail, Places to Go and Social Media. But if those headings do not work for you, we also include a blank copy of this weekly so that you can fill in your own headings.

TO PRINT CALENDARS:

PLEASE NOTE: We recommend printing all of our planner pages "Borderless" so that the colors bleed to the edges. You can find this setting by clicking on the "Print Setup" button in Adobe:


 Or the "Paper Size" drop-down menu in Mac Preview:

For our Large Planners, you have the flexibility to print your pages in any order you would like. We like our month to begin with the Monthly Goals & Tasks Page with a Notes page {as shown above}, which then flips to our first Monthly calendar. That will then flip to next month's Goals & Tasks page, which will then flip to the Monthly calendar. Repeat for as many months as you want to carry in your planner.

For our Small planner, we have this same order already set up for you. Because of the complexity of printing two planner pages on one sheet of paper AND have them work for front-to-back printing, they have to be in a very specific order. We take the guess work out for you and have designed a page that has the Monthly Goals & Tasks with Notes on one page so that you can simply run it on the back of each Monthly calendar. Here is a visual to help better explain this process:


For our Large Planners, you can choose to print the one-page Weekly of your choice front-to-back as many times as you like, or you can print your Weekly Page with a Notes page {which is what we have pictured above}.

For our Small planner, we have designed the pages to give you both options for printing weeklies as well. You can select the Weekly Page with Notes so that you have a two-page spread {example below} or you can print just the double Weekly page back-to-back as many times as you would like.


PRODUCTS:

The next section in our planner is where we keep all of the trackers, notes and materials pertaining to our products. One of the most useful tools we use is the Product Cost Worksheet.


This worksheet will help you determine the cost of each item you sell by breaking down all of the materials, labor, fees it will cost you, in addition to the profit you hope to make.

This section also includes our Product Listing Tracker and our Supply Inventory Tracker.

TO PRINT THESE PAGES:

Again, select "Borderless" printing and simply run each of the pages front-to-back with itself for as many copies as you would like to keep in your planner. These instructions are the same for Large and Small.


CUSTOM ORDERS:

Our Orders section is where we keep all of our Custom Order Forms,


As well as our Custom Order & Shipping Trackers. Because my Etsy shop is all digital, I do not use the Shipping Tracker, but my mom relies heavily on it for all of her products. This is the great thing about this system…you can pick and choose what works best for YOUR business :-)

TO PRINT THESE PAGES:

Again, select "Borderless" printing and simply run each of the pages front-to-back with itself for as many copies as you would like to keep in your planner. These instructions are the same for Large and Small.

INVENTORY:

This section is incredibly helpful for keeping track of your supply inventory, as well as keeping an ongoing reminder of when items need to be reordered. Our Supply Inventory sheet does both for you.


FINANCES:

This is the most important section of our planner. Keeping accurate, detailed records of your expenses, mileage and sales is crucial when it comes to tax season and our planner has everything you need.

Our Finances section includes our Mileage Tracker, Monthly & Yearly Expense Tracker {with blank spaces so that you can write in your own categories} and Monthly & Yearly Sales and Profit Trackers {with blank spaces so you can write in your own categories}.


TO PRINT THE FINANCE PAGES:

The first step is always to select "Borderless"and then for the Mileage Tracker, simply print the same page on the front and back as many times as you would like. Some people use a new tracker for each month, others just keep a running total for the year.

For the Monthly and Yearly Trackers, we prefer our Monthlies to follow our Yearly.

For the Large Planner, we recommend printing a Notes page to start the section, and then run the FIRST HALF of a Yearly Tracker on the back. Next, print the SECOND HALF of the Yearly Tracker with the coordinating Monthly Tracker on the back. Then, for the remaining 11 months of the year, simple run the Monthly Tracker back-to-back with itself.

For the Small Planner, we have arranged the pages for you to do the same thing. Please see this visual:


MARKETING:

This is the section where we track our Promotions and Giveaways and we have designed two different forms to help you out. We have a Promotions/Discount Tracker that will help you keep track of coupon/promotional codes, as well as the activation and expiration dates. We also have a very handy Giveaway form that will help you keep track of the blog or website hosting the Giveaway, when it starts and ends, the value of the prize, etc.


TO PRINT THESE PAGES:

Again, select "Borderless" printing and simply run each of the pages front-to-back with itself for as many copies as you would like to keep in your planner. These instructions are the same for Large and Small.

CONTACTS/NOTES/REFERENCE:

These last two sections of our planner serve as the catch-alls for everything else. It's a great place to store notes or project ideas, keep reference pages like our Passwords Tracker or 2014-2015 Yearly Overview. We have also included a great Contacts page in our set that you can us in any section of your planner.

********

OTHER PRINTING/ASSEMBLING TIPS AND SUGGESTIONS:

The wonderful thing about purchasing a Printable Planner is that you have the flexibility to make it your own. No more wasted pages you don't use and no more being stuck with a wire bound book that doesn't let you add your own materials. You have the flexibility to carry as much or as little as you want at one time, and reprint pages as you need them.

But with this freedom comes a little extra work on your part. To make the planner as flexible as possible, we keep the pages individual which means it isn't as simple as clicking "Print" on your screen. You will need to spend time determining what you want to print and how many pages you want of each item to get you started. You ARE allowed to use printing services for your planner, but beware that they will need YOU to tell them how you want the planner put together.

But we promise…it is worth the time and effort to have a planner that you truly love and that you will commit to using every day. So before we end this instructional post, we want to offer a few other printing tips to help you out.

* We recommend using 24-28lb paper. It is thick enough to write without bleeding through the pages, but it is thin enough to keep your planner from exploding :-)

* We recommend printing your cover page with heavy duty card stock if possible. This will keep it from wearing throughout the year.


* Many printers have a default setting when switched to "Borderless." It assumes you are printing a photo or image and will typically choose "Photo Paper" as your paper type. This is only a problem because your printer will use 3 times as much ink if it thinks it is printing on photo paper. Be sure to change this setting EVERY TIME you switch to "Borderless" or print a new page.

* IF YOUR FILE FOR THE SMALL PLANNER LOOKS OUT OF ORDER…it's because it is. However, it is in the correct order for two-to-a-page/front-t0-back-printing. The order of your pages will make sense once they have been printed front-to-back AND cut down the middle.

* We have tried to our best to make these instructions as comprehensive as possible, but if you still have other questions, please don't hesitate to contact us at ThePolkaDotPosiePrintables{at}gmail{dot}com.

We hope you love this planner as much as we do!!!!